Submersion God Rolls and Best Perks in Destiny 2: A Comprehensive Guide
The Call to Arms event in Destiny 2 has introduced a new weapon type to many Guardians: the crossbow. Among these is the Legendary Submersion crossbow, a weapon that, while not boasting the most stellar perk pool, still offers a satisfying punch and unique utility. This guide, brought to you by Gaming News, will delve deep into the intricacies of Submersion, exploring its potential god rolls, dissecting the best perk combinations, and providing insight into how to maximize its effectiveness in both PvE and PvP scenarios. Whether you’re a seasoned veteran or a newcomer to Destiny 2, this article will equip you with the knowledge to master Submersion.
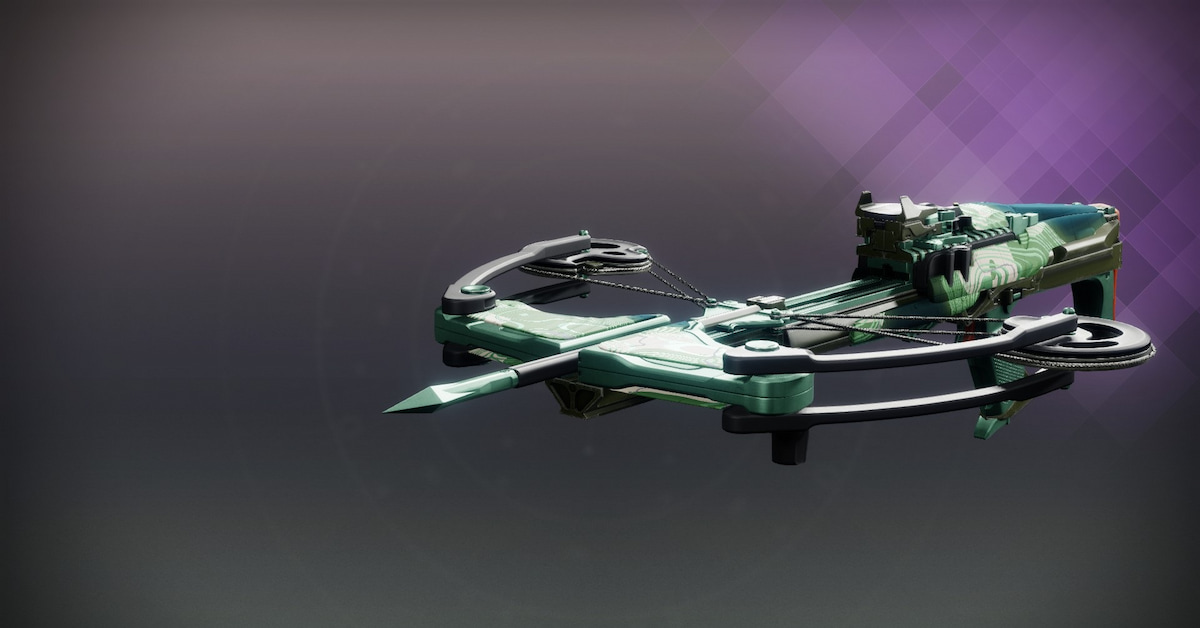
Understanding Submersion: A Detailed Overview
Submersion is a Precision Frame crossbow, meaning it fires a single bolt with high accuracy and moderate impact. Its unique feature is its ability to inflict elemental debuffs, making it a valuable tool for controlling the battlefield and setting up devastating follow-up attacks. While its base stats might not scream “god-tier,” the right perk combinations can transform Submersion into a surprisingly versatile and effective weapon. Its elemental affinity allows it to be incorporated into builds focused on elemental synergies, which are particularly strong in the current meta.
The availability of Submersion through the Call to Arms event makes it accessible to all players, regardless of their raid experience. This is a significant advantage, as it allows players to experiment with the crossbow archetype and find a playstyle that suits them. The weapon’s relative ease of acquisition also makes it an excellent choice for players who are looking to expand their arsenal without committing to the grind of endgame activities.
Dissecting the God Rolls: The Ideal Perk Combinations
While Submersion’s perk pool may not be the most exciting, several combinations stand out as particularly effective. We’ll break down each column and highlight the perks that synergize well to create a truly potent weapon. We will also highlight some more niche options that could be good for specific builds.
Rail Options: Optimizing Handling and Projectile Behavior
The Rail column offers a choice between three options, each affecting the weapon’s handling and projectile characteristics:
Frictionless Rail: This perk provides a straightforward boost to reload speed and projectile velocity. It’s a reliable choice for players who want to improve the weapon’s responsiveness and make it easier to land shots at longer ranges. The increased reload speed is also beneficial for maintaining a consistent rate of fire.
Low-Profile Rail: This option focuses on enhancing handling and persistence. The increased handling makes the weapon feel snappier and more responsive, while the added persistence ensures that bolts remain in the world for a longer duration. This can be useful for retrieving bolts and prolonging the damage-over-time effect of Charged Bolts (more on that later).
Empowered Rail: This rail sacrifices handling for even greater persistence. This is a more niche choice, as the reduced handling can make the weapon feel clunky. However, the increased persistence can be beneficial for players who rely heavily on Charged Bolts or who want to ensure that their bolts are easily retrievable.
Our Recommendation: For most players, Frictionless Rail offers the best balance of handling and projectile speed, making it the most versatile option.
Bolt Options: Choosing the Right Projectile Type
The Bolt column offers a variety of options, each affecting the weapon’s damage, projectile behavior, and utility:
Charged Bolts: These bolts inflict a damage-over-time effect on impact. This is a particularly effective perk for PvE, as the damage-over-time can quickly whittle down enemy health. It also synergizes well with other perks that enhance elemental debuffs.
Heavy Bolts: These bolts provide a noticeable damage boost, but they also increase projectile dropoff. This makes them a more challenging option to use, as you’ll need to compensate for the increased dropoff by aiming higher. However, the increased damage can be worth the effort, especially in situations where you need to quickly take down a high-value target.
Spring-Auger Bolts: These bolts cause enemies to flinch more easily. This can be useful for interrupting enemy attacks and staggering them, making them more vulnerable to follow-up attacks.
Serrated Bolts: These bolts allow you to retrieve arrows from living targets, particularly if they are frozen by effects from things like Chill Clip. This is especially good if you are trying to conserve ammunition.
Our Recommendation: Charged Bolts stand out as a consistently useful choice, providing both immediate damage and a lingering effect. Serrated Bolts are also useful.
Column 3 Perks: Reload Speed and Utility
The third column offers perks that primarily affect reload speed and utility:
Impulse Amplifier: This perk provides a significant boost to both reload speed and projectile speed. It’s a universally useful perk that enhances the weapon’s responsiveness and makes it easier to land shots at longer ranges.
Auto-Loading Holster: This perk automatically reloads the weapon after a short period of being stowed. This can be useful for players who like to switch between weapons frequently or who want to maintain a consistent rate of fire without manually reloading.
Bolt Scavenger: This perk increases the amount of ammo you pick up when scavenging special ammo. While not terrible, the limited ammo capacity of special weapons means this perk is less impactful than other options.
Lead From Light: This perk is interesting, but fairly lackluster on the whole. It essentially refunds your shots if you are at max super energy. This makes it very niche.
Our Recommendation: Impulse Amplifier is the clear winner in this column, providing a significant and consistent boost to the weapon’s performance.
Column 4 Perks: Damage, Debuffs, and Team Support
The fourth column offers a variety of perks that affect damage, debuffs, and team support:
Chill Clip: This perk freezes targets after hitting them with two bolts. This is the standout perk in this column, providing excellent crowd control and setting up shatter damage opportunities. It’s particularly effective in PvE, where freezing enemies can significantly reduce their threat.
Firing Line: This perk provides a damage boost when standing near allies. This is a solid option for group content, but it requires you to maintain close proximity to your teammates.
Aggregate Charge: This perk increases damage based on the number of elemental debuffs on the target. This can be a powerful perk, especially in builds that focus on applying multiple debuffs.
High Ground: This perk grants a damage boost when you are above your target. It is fairly situational.
Our Recommendation: Chill Clip is the most versatile and effective perk in this column, providing excellent crowd control and utility in both PvE and PvP.
The Ideal God Rolls: Top Combinations for Submersion
Based on our analysis, here are our top recommended god rolls for Submersion:
PvE God Roll: Frictionless Rail / Charged Bolts / Impulse Amplifier / Chill Clip
This combination provides excellent crowd control, damage-over-time, and reload speed, making it a versatile and effective choice for PvE activities.
General Use God Roll: Frictionless Rail / Serrated Bolts / Impulse Amplifier / Chill Clip
This combination can be used in both PvE and PvP activities.
Beyond the God Rolls: Niche Builds and Alternative Options
While the god rolls listed above represent the most effective combinations, there are other perk combinations that can be viable for specific builds and playstyles. For example:
Support Build: Low-Profile Rail / Charged Bolts / Auto-Loading Holster / Firing Line
This combination focuses on providing team support through damage buffs and damage-over-time effects.
High-Damage Build: Empowered Rail / Heavy Bolts / Impulse Amplifier / Aggregate Charge
This combination sacrifices handling for maximum damage output, making it a good choice for players who want to quickly take down high-value targets.
Masterworking Submersion: Completing the Weapon
Once you’ve acquired your desired Submersion roll, the next step is to masterwork it. Masterworking a weapon provides a small stat boost and unlocks a unique weapon tracker. For Submersion, we recommend masterworking for Reload Speed to further enhance the weapon’s responsiveness.
How to Acquire Submersion: Farming Strategies
Submersion drops from the Call to Arms event activities. Attuning to it from Devrim’s menu in the Tower increases your chances of obtaining the weapon. While Bungie hasn’t announced plans for obtaining Submersion after the event ends, it’s likely that it will be added to the general loot pool or made available through other means.
To maximize your chances of obtaining your desired Submersion roll, focus on completing Call to Arms activities and attuning to the weapon. If you have multiple characters, you can repeat the process on each character to further increase your chances.
Submersion in the Current Meta: Finding its Niche
Submersion, while not a meta-defining weapon, can still be a valuable asset in the current Destiny 2 landscape. Its ability to inflict elemental debuffs and provide crowd control makes it a useful tool for both PvE and PvP. It shines in content where crowd control is valuable, or where elemental debuffs can be synergized with other build elements.
Conclusion: Mastering the Submersion Crossbow
Submersion is a unique and versatile weapon that, with the right perks, can be a valuable addition to any Guardian’s arsenal. While its perk pool may not be the most exciting, the combinations we’ve outlined in this guide can transform it into a surprisingly effective tool for both PvE and PvP. Whether you’re a seasoned veteran or a newcomer to Destiny 2, we hope this guide has equipped you with the knowledge to master Submersion and unlock its full potential. Happy hunting, Guardians!