Stained Glass Window Puzzle Solution in Baldur’s Gate 3: Unlocking the Secrets of Rosymorn Monastery
Deep within the hallowed and mysterious confines of the Rosymorn Monastery in Baldur’s Gate 3, a perplexing stained glass window puzzle stands as a formidable obstacle for many an adventurer. This intricate challenge, nestled within the monastery’s shadowed halls, is more than just a visual spectacle; it’s a crucial gatekeeper to significant progress and valuable rewards. Successfully navigating its complexities requires careful observation, logical deduction, and a keen understanding of its environmental cues. This guide provides a comprehensive and detailed solution to the Rosymorn Monastery stained glass window puzzle, ensuring your path forward is illuminated.
The Rosymorn Monastery itself is a location brimming with lore and danger, a testament to the fallen Golden Enclave. Its ancient stones whisper tales of a time when the monks here sought to harness divine power, and this puzzle is a tangible remnant of their elaborate rituals. Many players find themselves stumped, staring at the fragmented artwork, unsure of the correct sequence or alignment. However, with the right approach, this puzzle can be overcome, granting access to the secrets that lie beyond. We have meticulously researched the most effective strategies and outlined them here to provide an unparalleled and definitive solution.
Understanding the Rosymorn Monastery Stained Glass Puzzle: The Core Mechanics
At its heart, the stained glass window puzzle in Rosymorn Monastery is a test of spatial reasoning and pattern recognition. It’s not merely about placing pieces randomly; it’s about understanding the narrative depicted within the glass and restoring its intended form. The puzzle is composed of several distinct sections, each representing a facet of a larger, symbolic image. The key to its solution lies in deciphering the order in which these sections should be activated or aligned, and how they interact with the environment and specific objects found within the monastery.
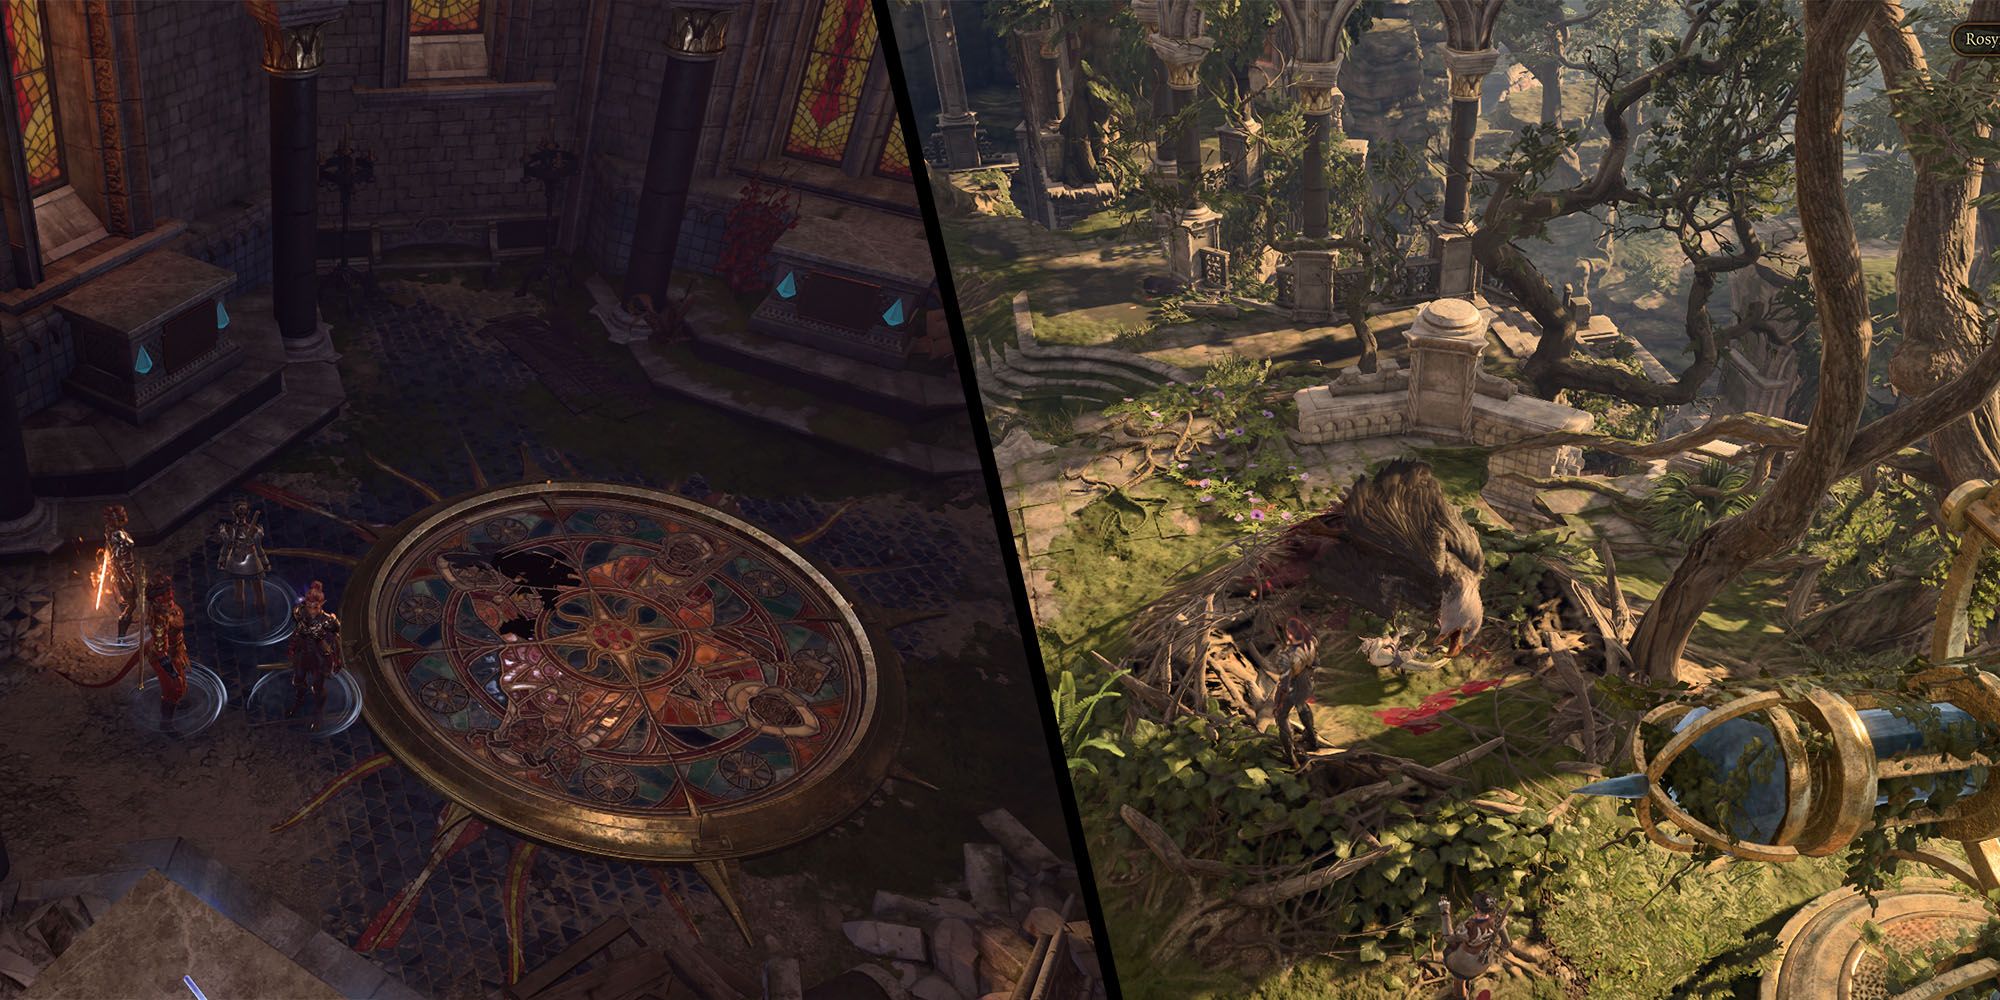
The puzzle is located in a prominent area, often visible as you explore the monastery’s upper levels. It features a large, incomplete stained glass mosaic. Surrounding this mosaic are various interactive elements, including levers, buttons, or movable parts that directly influence the state of the window. The visual cues are paramount. Observe the iconography, the colors, and the overall composition of the fractured pieces. The puzzle is designed to be solved through a process of elimination and by correctly interpreting the hints provided both within the puzzle’s immediate vicinity and throughout the Rosymorn Monastery itself.
Before you can even begin to manipulate the stained glass window, you must first understand its purpose. It’s not just decorative; it serves as a mechanism. When solved correctly, it reveals a hidden passage, activates a mechanism, or grants access to a sacred relic. The pressure to solve it quickly can lead to hasty, incorrect attempts, which can sometimes reset the puzzle or even trigger negative consequences. Our detailed approach ensures that you avoid these pitfalls and proceed directly to the correct solution.
The Grand Design: Deciphering the Stained Glass Imagery
The imagery depicted in the stained glass window is not arbitrary. It often tells a story or represents a symbolic cycle. In the case of Rosymorn Monastery, the window typically depicts scenes related to the Dawn and the Morningstar. These are critical motifs for understanding the solution. You’ll notice distinct segments, each a piece of this larger narrative. One segment might show the dawn breaking, another might depict the arrival of a celestial body, and others could represent various stages of a cycle.
Pay close attention to the colors. Bright, vibrant hues often signify the dawn and celestial power, while darker tones might represent the preceding night or obstacles. The arrangement of figures and symbols within each segment is also vital. Are there any recurring elements? Do certain figures seem to be reaching towards others? These are all clues that guide you towards the correct order of activation.
The puzzle can be approached by isolating each segment and understanding its individual contribution to the whole. Once you grasp the overarching theme – the progression from darkness to light, or from night to day – you can begin to hypothesize the sequence. The solution often involves a linear progression, mimicking the natural order of events. This understanding is foundational to successfully solving the Rosymorn Monastery stained glass window puzzle.
Locating the Essential Components: Items and Interactions
To truly unravel the Rosymorn Monastery stained glass puzzle, you must be aware of the necessary components that interact with it. These are not always immediately obvious and often require thorough exploration of the surrounding areas. The puzzle is intrinsically linked to specific items or mechanisms within the monastery.
One of the most crucial aspects of the solution involves locating and utilizing quest items or puzzle pieces. These might be ornate keys, amulets, relics, or even specific books that contain clues. Without these items, the puzzle remains intractable. We will detail precisely where to find these essential components.
Furthermore, the puzzle often involves environmental interactions. This could mean pulling levers in a specific order, activating runes, or even bathing certain areas in light. The Rosymorn Monastery is designed with these interdependencies in mind. The solution isn’t just about the window itself, but how you interact with its immediate surroundings. We guide you through each of these necessary steps with utmost clarity.
It is vital to note that some of these components might be guarded or hidden, requiring combat or skillful bypassing of traps. Preparation is key. Ensure your party is ready for any encounters and that you have explored thoroughly before attempting to manipulate the stained glass.
The Step-by-Step Stained Glass Window Puzzle Solution
Now, let us delve into the precise steps required to conquer the Rosymorn Monastery stained glass window puzzle. This is a detailed walkthrough designed for immediate and effective application.
Step 1: Initial Observation and Preparation
Upon encountering the stained glass window, take a moment to observe its current state. Note the fragmented sections and any visible interactive elements nearby. Identify the central motif if it is discernible. Before proceeding, ensure you have explored the immediate vicinity for any potential clues or essential items. The monastery is a dense environment, and overlooking a single crucial detail can halt your progress.
Step 2: Locating the Key Items for the Puzzle
The Rosymorn Monastery stained glass puzzle requires specific items to be brought to the area or activated in a particular sequence. The most critical items are often found on or near the monastery’s main altar or in adjacent chambers.
- The Dawnbreaker/Morningstar Amulets: The primary components are typically fragments or a complete representation of the Dawnbreaker or Morningstar. These often manifest as ornate amulets or religious icons that need to be placed or activated at specific points. You will likely need to find these scattered throughout the monastery. For instance, one might be found in a chest after defeating a guardian, another might be hidden behind a destructible wall, or perhaps acquired through a successful dialogue check.
- The Dawn Amulet: This is one of the most important pieces. Its location is often tied to a specific quest or challenge within the monastery. You might find it in the possession of a key NPC, guarded in a treasure chamber, or awarded for completing a smaller puzzle.
- The Morningstar Amulet: Similar to the Dawn Amulet, this piece is integral to the solution. Its discovery might involve overcoming a combat encounter or solving a riddle.
We advise a thorough search of all accessible rooms within the Rosymorn Monastery’s central structure, paying particular attention to any chambers that appear to be of religious significance or contain remnants of ancient rituals.
Step 3: Interacting with the Stained Glass Mechanism
Once you have gathered the necessary items, you will return to the stained glass window. The puzzle typically involves aligning or activating these items in a specific order relative to the window.
The Central Pedestal: Often, there will be a central pedestal or altar directly in front of the stained glass window. This is where you will likely need to place or interact with the key items.
The Order of Activation: The solution hinges on the correct sequence. The Rosymorn Monastery lore strongly suggests a progression related to the dawn. Therefore, the puzzle often requires activating or placing the dawn-related elements first, followed by those associated with the morningstar or its subsequent phases.
- First Phase: The Dawn: You might need to place the Dawn Amulet on the pedestal or activate a mechanism that symbolizes the rising sun. This could involve shining light on a specific part of the window or interacting with a lever associated with the east.
- Second Phase: The Morningstar: Following the dawn, you will likely need to introduce the Morningstar element. This could be the Morningstar Amulet itself, or a symbol representing its power. This might involve placing it on a different spot, or activating a secondary mechanism.
The visual cues on the stained glass window itself are crucial here. Look for segments that depict the initial rays of light, and then segments that show the full celestial body or its radiant power. The sequence should mirror this visual progression.
Step 4: Using Environmental Clues for Precise Alignment
Beyond placing items, the puzzle often requires precise alignment or activation of environmental elements.
- The Dawnbreaker’s Light: In some iterations of this puzzle, you might need to utilize a specific weapon or item that emits light. The Dawnbreaker, if you possess it, is a fitting choice. Directing its light at the stained glass window in a particular spot can trigger a change. The solution might involve channeling light through specific parts of the fragmented artwork to reveal hidden symbols or align segments.
- Sunbeam Alignment: Keep an eye out for any mechanisms that might allow you to manipulate light beams within the monastery. Aligning a sunbeam with a specific part of the stained glass is a common puzzle mechanic in Baldur’s Gate 3. This often involves rotating mirrors or opening shutters. The Rosymorn Monastery has many such interactive elements.
- The Altar’s Rotation: Some stained glass puzzles require rotating the central altar or the window itself. Observe if there are any controls that allow for such manipulation. The correct rotation will align the fragmented pieces into a cohesive image.
Step 5: The Role of the Dawn Amulet and Morningstar Amulet
These two amulets are often the lynchpins of the Rosymorn Monastery stained glass puzzle solution. Their placement and activation are paramount.
- Dawn Amulet Placement: The Dawn Amulet is generally the first major component to be used. Its placement on the central altar or pedestal is usually the trigger for the puzzle’s first stage. Look for an indentation or a slot specifically designed for it.
- Morningstar Amulet Interaction: Once the Dawn Amulet has been activated or placed, the Morningstar Amulet comes into play. This might involve placing it in a secondary slot, activating a different lever, or performing a specific action in conjunction with the Dawn Amulet already in place.
The specific wording on the amulets and any accompanying lore found within the monastery will often provide direct hints about their role and the order of their use.
Step 6: Completing the Puzzle and Unlocking the Path
When all elements are correctly aligned and activated in the proper sequence, the stained glass window will undergo a significant transformation.
- The Revelation: The fragmented pieces will coalesce, forming a complete and luminous image. This often depicts a celestial event or a significant religious symbol.
- The Hidden Passage: Upon successful completion, a hidden passage will typically be revealed. This could be a door sliding open, a section of the wall receding, or a staircase descending into the depths of the monastery.
- Access to Rewards: This passage leads to further areas of the Rosymorn Monastery, often containing valuable loot, crucial quest progression, or powerful artifacts.
Troubleshooting Common Issues with the Stained Glass Puzzle
Even with a detailed guide, players can sometimes encounter issues. Here are some common problems and their solutions.
- Puzzle Not Reacting: If the puzzle doesn’t react to your interactions, double-check that you have found and collected all the necessary items, particularly the Dawn Amulet and Morningstar Amulet. Ensure you are interacting with the correct mechanisms and in the right order. Sometimes, a simple reload of your save file can resolve minor glitches.
- Incorrect Item Placement: The puzzle is sensitive to the order of operations. If you believe you’ve used the correct items but nothing is happening, try removing and re-placing them, paying close attention to visual cues that might indicate the correct slot or interaction point.
- Missing Components: If you are certain you have explored thoroughly and cannot find a vital item, it’s possible it was missed entirely or is located in an area you haven’t accessed. Re-trace your steps within the Rosymorn Monastery, checking for any hidden compartments, destructible walls, or previously overlooked NPCs.
- Combat Encounters: Be prepared for the Rosymorn Monastery to be inhabited. Some crucial items or mechanisms might be guarded by powerful enemies. Ensure your party is adequately equipped and has sufficient healing resources before attempting to retrieve these components.
Thematic Significance: Why This Puzzle Matters in Baldur’s Gate 3
The stained glass window puzzle in Rosymorn Monastery is more than just an arbitrary obstacle; it’s a narrative device that enriches the world of Baldur’s Gate 3. The monastery, dedicated to the Morninglord, uses this puzzle to test the worthiness of those who seek its secrets. The imagery of the dawn and the morningstar is deeply symbolic, representing hope, rebirth, and divine power.
By successfully solving the puzzle, you are not just opening a door; you are demonstrating your understanding and respect for the lore and deities of this world. This thematic integration makes the puzzle feel organic and meaningful within the broader context of the game. The solution requires you to engage with the monastery’s history and its core tenets, making it a more rewarding experience than a simple lock-and-key mechanism.
Beyond the Puzzle: What Awaits in Rosymorn Monastery
The Rosymorn Monastery is a treasure trove of lore, challenges, and rewards. Beyond the stained glass window puzzle, you will find:
- Valuable Loot: Expect to find rare weapons, armor, and potent magical items. The monastery was once a place of significant power, and its remnants reflect that.
- Key Quests and NPCs: The monastery is often a hub for critical quests and introduces you to memorable characters who can impact your journey.
- Environmental Storytelling: The architecture, the scattered notes, and the defeated guardians all contribute to a rich narrative tapestry that sheds light on the history of the monastery and the surrounding lands.
- Challenging Combat Encounters: The monastery is not empty. Be prepared to face formidable foes, including religious fanatics, monstrous creatures, and potentially even powerful entities.
Mastering the stained glass window puzzle is a significant step in your exploration of this complex and fascinating location. Our detailed guide ensures that this particular challenge will not hinder your progress.
Conclusion: Mastering the Rosymorn Monastery Stained Glass Window
Navigating the Rosymorn Monastery stained glass window puzzle requires a blend of observation, deduction, and careful execution. By understanding the symbolic imagery, locating the essential amulets and mechanisms, and following the correct sequence of activation, you can effortlessly overcome this intricate challenge. This guide provides a comprehensive and definitive solution, ensuring your adventure in Baldur’s Gate 3 continues unhindered and with access to all the secrets the Rosymorn Monastery holds. Remember to explore thoroughly, pay attention to the environmental clues, and approach the puzzle with the methodical precision it demands.