Hunter’s March Map Location in Hollow Knight Silksong: A Comprehensive Guide
Welcome, fellow adventurers, to Gaming News, your premier destination for all things related to the enigmatic world of Hollow Knight Silksong. Today, we delve deep into one of the most challenging and captivating regions awaiting explorers: the Hunter’s March. This treacherous expanse demands precision, a keen eye for detail, and an understanding of its unique traversal mechanics. To aid you in navigating its intricate pathways and uncovering its secrets, we present an exhaustive guide to acquiring the Hunter’s March map. Mastering this area is not merely about progression; it’s about understanding the very fabric of its design, a testament to the meticulous artistry of Team Cherry.
The Hunter’s March is a testament to the intricate level design that Hollow Knight is renowned for. It’s a region that actively challenges the player’s understanding of movement and platforming, pushing them to utilize every tool at their disposal. The very layout of this area necessitates a specific approach to traversal, making the acquisition of its map an early priority for any dedicated spelunker. Without it, the myriad of hidden paths, deceptive drops, and vertical challenges can quickly become overwhelming, leading to frustration and wasted Rosaries. Our goal is to ensure that by the time you finish reading this, you will have an unparalleled understanding of precisely where and how to obtain the Hunter’s March map, along with the invaluable vendor who offers it.
Understanding the Significance of the Hunter’s March Map
Before we embark on our journey to locate Shakra, the cartographer of the Hunter’s March, it’s crucial to underscore why this map is so vital. The Hunter’s March is characterized by its verticality and reliance on precise platforming. The environment is dotted with the distinctive red flowers, which serve as essential pogo jump platforms. These floral aids are not merely decorative; they are the lifeblood of navigation through many sections of the Hunter’s March. Without the map, discerning the correct sequence of pogo jumps and identifying safe landing spots becomes a perilous guessing game.
Furthermore, the Hunter’s March is rumored to house a missing Flea, a collectible that is notoriously difficult to locate without a clear overview of the region. The map provides the foundational knowledge required to systematically search every nook and cranny, ensuring that no vital item, no matter how well hidden, eludes your grasp. The cost of the map, a mere 70 Rosaries, is an investment that pays dividends almost immediately, saving you countless hours of aimless wandering and potential demises. It transforms a daunting labyrinth into a conquerable challenge, allowing you to focus on mastering the combat and environmental puzzles that the Hunter’s March presents.
Strategic Entry into the Hunter’s March
The first step to acquiring the Hunter’s March map is to correctly enter the region. While multiple access points may exist throughout your journey, for the purpose of obtaining the map as efficiently as possible, we advocate for a specific entry route. This method prioritizes ease of navigation and minimizes the chance of becoming immediately lost.
We recommend entering the Hunter’s March from the left, as you exit the preceding area known as The Marrow. This point of egress is typically marked on your existing map with Hornet’s icon, a clear indicator that you are on the right track. Upon exiting The Marrow, you will find yourself in an environment that immediately signals the unique nature of the Hunter’s March. Observe your surroundings closely. The initial visual cues will include the distinctive red flowers that we’ve mentioned, often positioned in a way that suggests upward progression.
Navigating the Initial Pogo Jumps
As you step into the Hunter’s March from The Marrow, your immediate focus should be on the visual prompts presented by the environment. You will notice the aforementioned red flowers. These are your primary means of vertical ascent in this initial section. The game designers have intentionally placed these to guide you.
Your first task is to pogo jump on these red flowers to ascend. This mechanic, a staple of the Hollow Knight series, requires you to strike downwards with your Nail while in mid-air, causing you to bounce off certain surfaces, including these specific flora. Mastering the rhythm and timing of these pogo jumps is paramount. After your initial ascent, you will find yourself in a narrow passage.
Within this passage, you will encounter your first adversaries in the Hunter’s March. These are described as small, ant-type bugs. While not particularly formidable, they serve as an early test of your combat proficiency within this new environment. Defeat them swiftly to clear the path ahead. Following their defeat, continue to pogo jump upwards on the subsequent red flowers. Your objective is to reach a point where the path diverges, presenting you with a choice.
The Crucial Decision: Rightward Progression
Upon reaching the juncture where two paths become available, careful consideration is required. The layout of the Hunter’s March is designed to be disorienting, with many seemingly viable routes leading to dead ends or backtracking. For the direct acquisition of the map, you must select the path that heads right. This directional choice is critical and will steer you towards the vendor.
Once you commit to the rightward path, your journey continues by carefully navigating a series of platforms. You will again need to utilize the red flowers to propel yourself forward and upward. Jump from one flower to another, using the downward strike of your Nail to maintain momentum and reach the next available ledge.
Continue to progress rightwards. You will encounter more of these floral platforms. The description specifies jumping on a couple of red flowers to reach the next elevated position. Precision is key here; misjudging a jump could lead to a fall and a potential return to an earlier checkpoint, wasting valuable time. After successfully traversing this section, you will need to descend. Keep heading to the right.
Testing Your Parkour Skills
The next room you enter is specifically designed to test your mastery of the game’s platforming mechanics. This area is characterized by a significant presence of red flowers and offers no immediate combat challenges. It is a pure test of your ability to string together precise pogo jumps and directional dashes to navigate an intricate obstacle course.
Pay close attention to the placement of each red flower. The sequence of jumps and the timing of your strikes are crucial to successfully traversing this section without falling. This room serves as a significant skill check, preparing you for the more complex environmental hazards that lie deeper within the Hunter’s March. Successfully navigating this parkour-focused challenge is a clear indication that you are on the correct path towards the map vendor.
Confronting Hazards and Enemies
Following the dedicated parkour room, the Hunter’s March presents a stark contrast. This subsequent chamber introduces both enemies and environmental hazards, demanding a more multifaceted approach to survival. The gameplay shifts from pure platforming to a blend of combat and evasion.
Within this room, you will need to be acutely aware of your surroundings. The presence of traps necessitates the use of your dash ability. The dash is a swift and invaluable tool for repositioning yourself, avoiding incoming projectiles, or escaping the grasp of detrimental environmental elements. Coordinate your dashes with your jumps and attacks to overcome the obstacles presented.
After successfully navigating the enemies and traps in this challenging room, your path continues downwards. Maintain your eastward trajectory. The persistent heading towards the east is your guiding principle in this segment of the Hunter’s March.
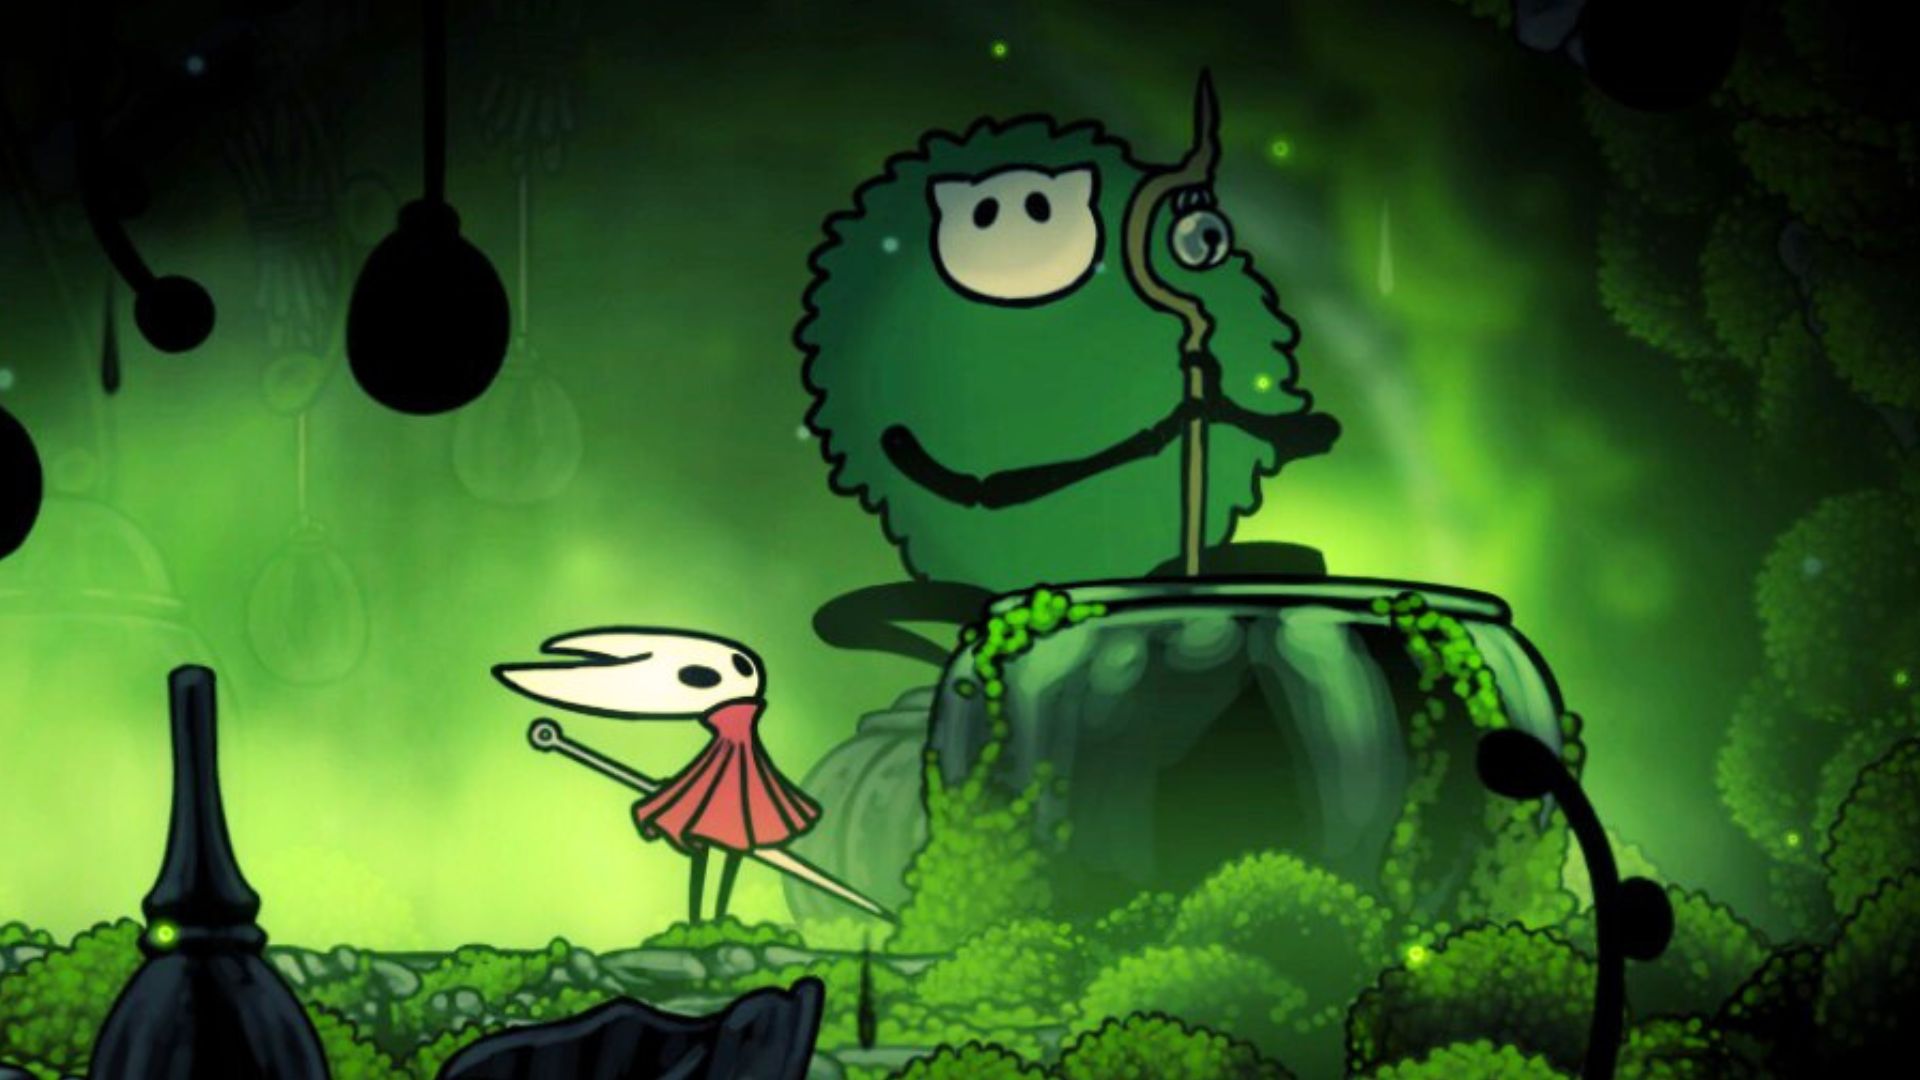
Discovering Shakra: The Map Vendor
As you continue your determined march eastward, navigating the final section of this guiding path, you will eventually arrive at your destination. Here, you will encounter Shakra. This enigmatic character is the purveyor of the vital Hunter’s March map.
Shakra is the key to unlocking your comprehensive understanding of this complex region. She stands as a beacon of knowledge amidst the treacherous landscape, offering the means to navigate its intricacies with confidence. Her presence marks the successful completion of your journey to find the map’s location.
The Hunter’s March Map: Acquisition and Benefits
Upon meeting Shakra, she will present you with an opportunity to purchase the Hunter’s March map. The price for this invaluable item is 70 Rosaries. This is an exceptionally reasonable cost, considering the significant advantage the map provides in exploring this challenging area.
Purchasing the map immediately populates your in-game map with the full layout of the Hunter’s March. This includes all pathways, hidden areas, points of interest, and crucially, the locations of collectibles such as the missing Flea. The clarity provided by the map transforms the overwhelming expanse of the Hunter’s March into a manageable and explorable territory.
The benefits of acquiring the Hunter’s March map are manifold:
- Efficient Navigation: Eliminates the guesswork involved in traversing the region, saving you time and preventing unnecessary backtracking.
- Discovery of Secrets: Facilitates the systematic search for hidden items, such as the missing Flea, ensuring you don’t overlook any valuable loot.
- Combat Preparedness: By understanding the layout, you can better anticipate enemy encounters and environmental hazards, allowing for more strategic engagement.
- Completionist Goals: Essential for players aiming for full map completion and the acquisition of all in-game items.
- Reduced Frustration: Transforms a potentially frustrating experience into an engaging and rewarding exploration.
The Hunter’s March map is not merely a cosmetic addition to your inventory; it is a fundamental tool for success within this specific region of Hollow Knight Silksong. The 70 Rosaries it costs are an investment that will undoubtedly enhance your overall gaming experience.
Detailed Breakdown of Hunter’s March Navigation Elements
To further solidify your understanding of the Hunter’s March and the map’s utility, let us break down the key navigational elements you will encounter:
The Red Flowers: Pillars of Ascent
These vibrant flora are the signature platforming element of the Hunter’s March. Their placement is deliberate, creating sequences that require precise pogo jumps.
- Mechanic: Striking downwards with the Nail in mid-air bounces the player upwards.
- Purpose: To overcome vertical obstacles and ascend to higher ledges.
- Strategy: Observe the pattern of the flowers. Some may require multiple consecutive bounces to reach a desired height. Timing is crucial to maintain momentum and avoid falling.
The Ant-Type Bugs: Early Combat Encounters
These small creatures serve as an introduction to combat within the Hunter’s March.
- Behavior: Typically straightforward melee attackers.
- Strategy: Utilize basic Nail attacks and quick dodges. They are relatively easy to dispatch, allowing you to focus on the platforming that follows.
Narrow Passages and Ledges
The geography of the Hunter’s March is characterized by constricted pathways and precarious ledges.
- Challenge: Requires careful movement and precise jumping.
- Strategy: Move deliberately. Utilize dashes to cover small gaps if necessary, but prioritize accurate jumps when possible to conserve dash usage for other sections.
Parkour-Focused Rooms
These sections are designed as pure platforming challenges, often devoid of enemies but demanding extreme precision.
- Design: Intricate arrangements of red flowers, gaps, and sometimes moving platforms.
- Strategy: Patience and practice are key. Do not rush. Identify the optimal path and execute each jump with deliberate intent. Learning from each fall is crucial for eventual success.
Rooms with Enemies and Traps
These areas blend combat with environmental hazards.
- Hazards: Can include spikes, falling platforms, projectile emitters, or other damaging elements.
- Strategy: Prioritize evasion. Use your dash to avoid traps and create space for combat. Observe enemy attack patterns and exploit openings. The map will help you understand the overall layout of these rooms, allowing for better planning.
The Missing Flea: A Hidden Challenge within Hunter’s March
As mentioned, the Hunter’s March is a region where a missing Flea can be found. These Fleas are small, elusive creatures that contribute to completion percentages and can sometimes offer small rewards upon collection.
Locating the missing Flea within the Hunter’s March is often a task that requires thorough exploration and a keen eye for detail. The map, once acquired, becomes your ultimate tool for systematically searching every corner. You can meticulously examine areas that might otherwise be overlooked, especially those off the main path or requiring specific platforming sequences to reach.
Without the map, finding the missing Flea would be akin to searching for a needle in a haystack, relying solely on chance and repeated, potentially frustrating, exploration. The map provides the context, the overview, and the confidence to systematically clear sections until the Flea is located. Its specific location within the Hunter’s March can be quite ingenious, often requiring a small detour or a specific sequence of actions. Having the map ensures that once you’ve navigated the primary challenges of the region, you can then turn your attention to these more granular, yet important, collectibles.
A Note on Rosaries and Economy in Silksong
The currency of Rosaries is vital for acquiring essential items like maps and charms. The 70 Rosaries for the Hunter’s March map are a significant but worthwhile expenditure early on. Players are encouraged to engage with the game’s economy, defeating enemies and exploring to gather enough Rosaries.
- Farming Rosaries: Enemies within the Hunter’s March and other regions will drop Rosaries. Prioritize defeating them to accumulate the necessary funds.
- Vendor Locations: Identifying vendors like Shakra and understanding what they offer is crucial for efficient resource management.
The Hunter’s March map is a prime example of an item where the investment in Rosaries provides an immediate and substantial return on investment in terms of progression and exploration efficiency.
Conclusion: Mastering the Hunter’s March with the Map
In conclusion, the Hunter’s March is a region within Hollow Knight Silksong that truly tests a player’s mettle. Its reliance on precise pogo jumping, intricate platforming, and a blend of combat and environmental hazards makes it a daunting prospect for any adventurer. However, the acquisition of the Hunter’s March map from Shakra for a modest 70 Rosaries fundamentally alters this dynamic.
By following the route we have meticulously outlined, entering from The Marrow and progressing rightwards, you will find yourself in the presence of Shakra, ready to equip you with the knowledge needed to conquer this challenging territory. The map will illuminate the path, reveal hidden secrets like the missing Flea, and transform your exploration from a chaotic scramble into a calculated and rewarding endeavor.
We at Gaming News are dedicated to providing you with the most comprehensive and accurate guides to ensure your journey through the world of Hollow Knight Silksong is as seamless and enjoyable as possible. With the Hunter’s March map in hand, you are now well-equipped to face the trials and uncover the splendors that this captivating region holds. May your travels be swift and your Nail strikes true!