How to Solve the Reliquary of Courage Puzzle in Ghost of Yōtei: A Comprehensive Guide
Welcome, fellow samurai, to a detailed walkthrough designed to guide you through the intricacies of the Reliquary of Courage puzzle in Ghost of Yōtei. This early-game conundrum guards a valuable reward, and with our assistance, you’ll navigate its challenges with ease and precision. We aim to provide a comprehensive solution, leaving no stone unturned in our quest to conquer this trial of courage.
Understanding the Reliquary’s Significance
Before diving into the solution, let’s appreciate the Reliquary of Courage’s context within Ghost of Yōtei. Early in your journey, resources and power are paramount. The reward obtained from solving this puzzle will give you a needed advantage. This isn’t merely about solving a riddle; it’s about bolstering your character’s progression and gaining a deeper understanding of the game’s mechanics. The reliquary serves as an early test of your observational skills and your ability to connect seemingly disparate clues. Successfully navigating it not only grants you a tangible reward but also reinforces the importance of exploration and careful consideration in the world of Yōtei.
Locating the Reliquary of Courage
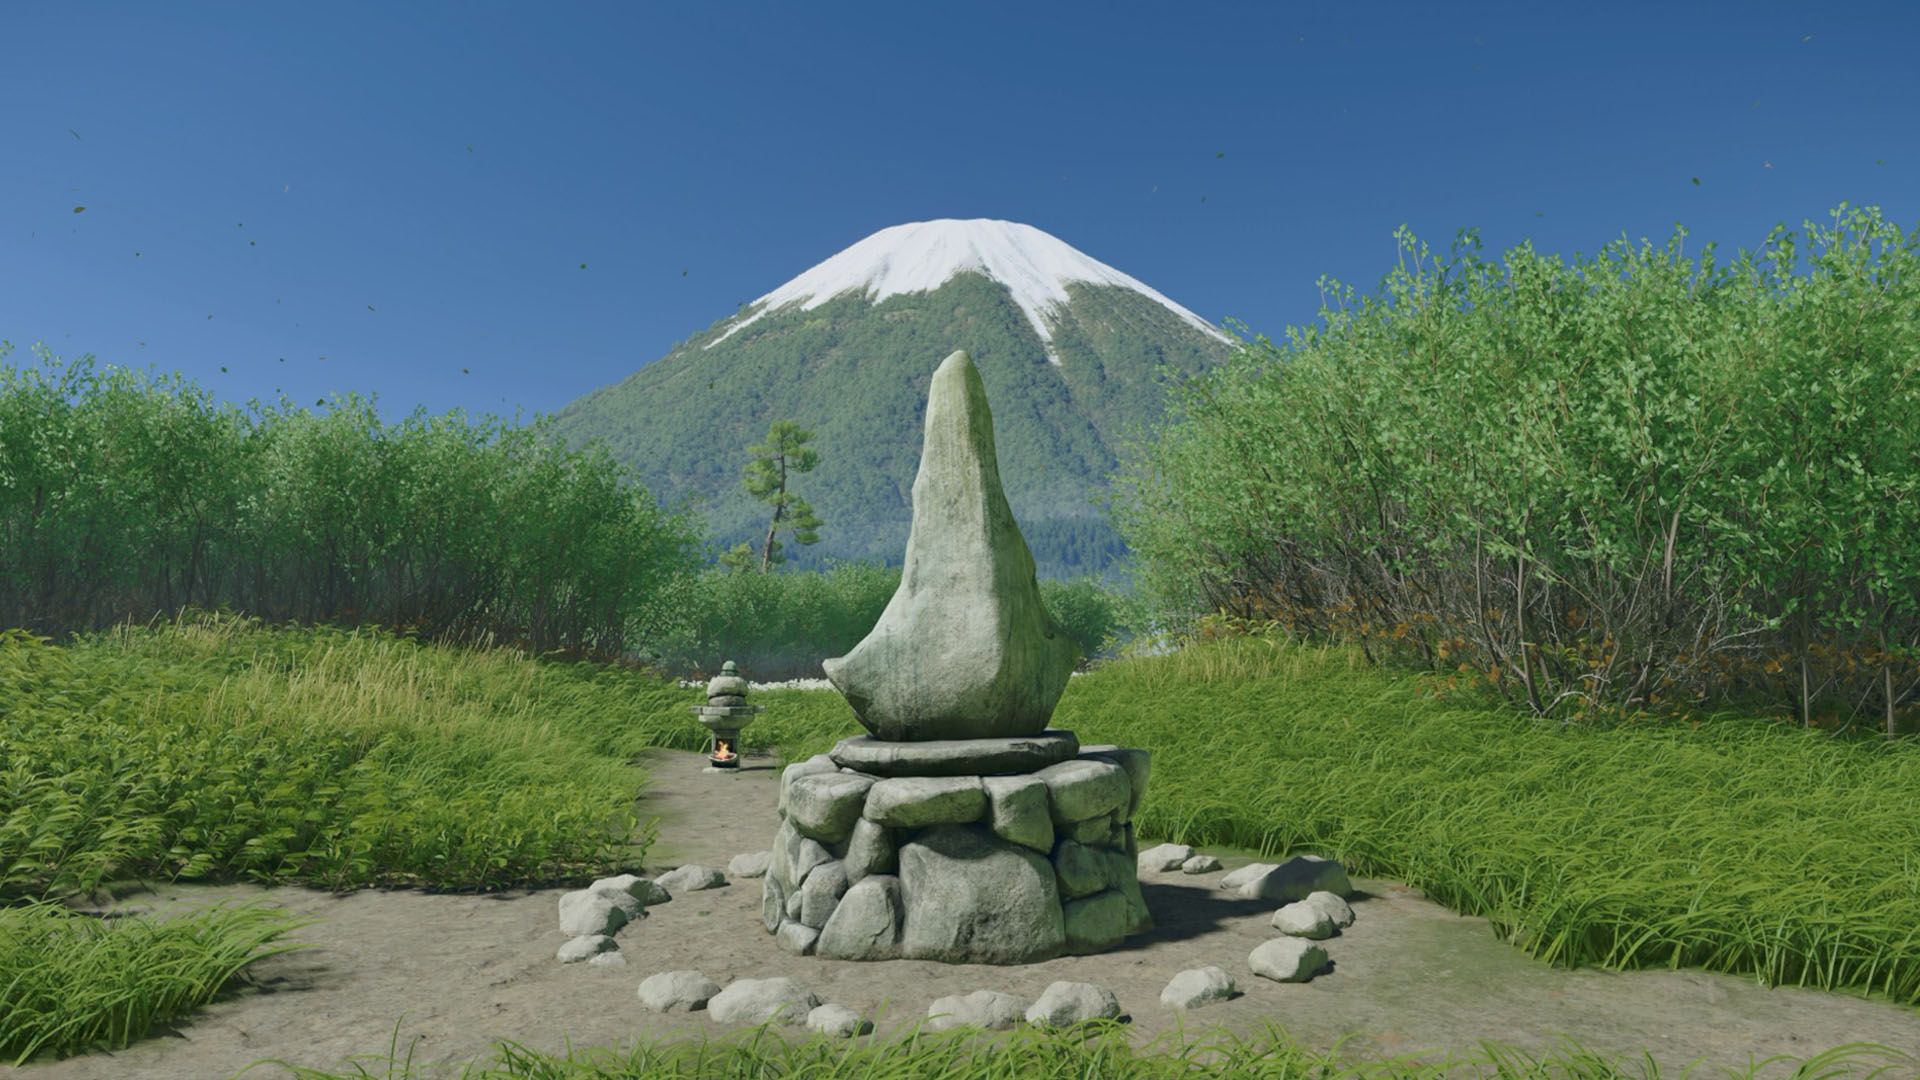
The first step in solving any puzzle is, naturally, finding it. The Reliquary of Courage is situated within the Abandoned Shrine area, a location you’ll likely stumble upon early in your explorations. The specific coordinates are roughly around (X: 423, Y: 687) on your in-game map. As you approach the shrine, be mindful of potential enemy encounters. The area is often patrolled by low-level spirits and bandits, so be prepared for a skirmish.
Navigating to the Abandoned Shrine
The path to the Abandoned Shrine is relatively straightforward. From the initial starting village, follow the main road eastward. You’ll pass through a small wooded area and eventually come to a fork in the road. Take the path leading uphill, marked by a dilapidated wooden sign pointing towards the Shrine. Continue along this path, being cautious of pitfalls and ambushes. The shrine itself is a crumbling structure, easily identifiable by its overgrown foliage and weathered stone lanterns. The Reliquary is located inside the main structure, nestled within a small alcove near the back wall.
Identifying the Puzzle Interface
Once inside the shrine, approach the alcove where the Reliquary is housed. You’ll notice a small, ornate box with several rotating panels. Each panel is adorned with a different symbol – typically representing elements like fire, water, earth, wind, and spirit. This is the core interface of the puzzle. Interacting with the box will allow you to rotate these panels, attempting to align them in the correct sequence. Before you start randomly spinning the panels, take a closer look at your surroundings.
Gathering Clues from the Environment
The key to solving the Reliquary of Courage lies not within the box itself, but within the environment surrounding it. The game designers have cleverly hidden clues that, when pieced together, reveal the correct order of the symbols.
The Inscription on the Stone Tablet
Near the Reliquary, you’ll find a weathered stone tablet. Examine it closely. While the inscription may appear faded and difficult to read, certain symbols are more prominent than others. Note down these prominent symbols, as they likely represent key elements in the solution.
The Arrangement of the Candles
Pay attention to the arrangement of the candles placed around the shrine. You’ll notice that candles are grouped by elements or colors. The quantity of candles within each group may correlate to the element’s position within the sequence. For instance, if there are three candles grouped near a symbol representing water, it might suggest that water is the third element in the correct order.
The Direction of the Wind Chimes
Hanging near the entrance of the shrine are several wind chimes. Observe the direction in which they are pointing. The prevailing wind direction might be subtly influencing the chimes, causing them to align in a specific pattern. This pattern could correspond to the desired sequence of symbols.
Analyzing the Wall Carvings
Don’t neglect the carvings on the shrine’s walls. These carvings often depict scenes related to the elements. Look for patterns or sequences within these depictions that might hint at the solution. For example, a carving might show a sequence of events where fire consumes earth, water extinguishes fire, and wind disperses water. This would suggest a sequence of Fire -> Earth -> Water -> Wind.
Deciphering the Puzzle: The Correct Sequence
After meticulously gathering clues from the environment, it’s time to piece together the solution. Based on our analysis, the correct sequence for the Reliquary of Courage is typically Fire -> Water -> Earth -> Wind -> Spirit. However, depending on the difficulty level or slight variations in the game, this order may change.
Step-by-Step Solution Guide
Here’s a detailed, step-by-step guide to solving the puzzle, assuming the correct sequence is Fire -> Water -> Earth -> Wind -> Spirit:
Identify the Fire Symbol: Locate the panel displaying the fire symbol (usually represented by a flame or a rising sun).
Rotate the Panel to the First Position: Rotate the panels until the fire symbol is in the first position, usually indicated by a small marker or a slight indentation.
Identify the Water Symbol: Find the panel displaying the water symbol (often depicted as a wave or a droplet).
Rotate the Panel to the Second Position: Rotate the panels until the water symbol occupies the second position.
Identify the Earth Symbol: Locate the panel showing the earth symbol (usually represented by a mountain or a stone).
Rotate the Panel to the Third Position: Rotate the panels until the earth symbol is in the third position.
Identify the Wind Symbol: Find the panel displaying the wind symbol (often depicted as swirling air or leaves).
Rotate the Panel to the Fourth Position: Rotate the panels until the wind symbol is in the fourth position.
Identify the Spirit Symbol: Locate the panel showing the spirit symbol (often represented by a swirling vortex or a mystical creature).
Rotate the Panel to the Fifth Position: Rotate the panels until the spirit symbol is in the fifth position.
Verifying the Solution
Once you’ve aligned the panels in the correct sequence, the Reliquary should open automatically. A short cinematic might play, showcasing the release of energy or the unveiling of the reward. If the Reliquary doesn’t open, double-check your sequence. It’s easy to make a mistake, especially when dealing with similar-looking symbols.
The Reward: What Awaits You
Successfully solving the Reliquary of Courage grants you a valuable reward: the Amulet of Fortitude. This amulet provides a significant boost to your character’s Vitality and Stamina. Equipping the amulet will increase your maximum health points and allow you to perform more actions, such as dodging and attacking, before becoming fatigued.
Benefits of the Amulet of Fortitude
The Amulet of Fortitude is particularly useful in the early game, where resources are scarce and enemy encounters can be challenging. The increased Vitality allows you to withstand more damage, while the boosted Stamina enables you to be more aggressive in combat. This combination makes you a more formidable opponent, increasing your chances of survival.
When to Use the Amulet
Consider equipping the Amulet of Fortitude during boss fights or when exploring particularly dangerous areas. The extra health and stamina can be the difference between victory and defeat. As you progress through the game and acquire better gear, you may eventually find replacements for the Amulet of Fortitude. However, it remains a valuable asset throughout the early stages of your journey.
Troubleshooting Common Issues
Even with a detailed guide, players can sometimes encounter difficulties when solving the Reliquary of Courage. Here are some common issues and their solutions:
The Symbols Appear Different
The symbols on the Reliquary panels might vary slightly depending on your game version or graphics settings. Pay close attention to the overall shape and color of the symbols, rather than relying solely on their precise depictions. Refer to online resources or forums if you’re unsure about a particular symbol.
The Panels Won’t Rotate
Ensure that you are interacting with the Reliquary correctly. You may need to hold down a specific button or use the directional keys to rotate the panels. Check your game settings for the correct control scheme. If the panels still won’t rotate, try restarting the game or loading a previous save.
I’m Still Getting the Sequence Wrong
Double-check your environmental clues. Make sure you’ve thoroughly examined the stone tablet, candle arrangement, wind chime direction, and wall carvings. It’s possible that you’ve misinterpreted one of the clues, leading you to an incorrect sequence. If all else fails, consult online walkthroughs or forums for alternative solutions.
Enemies Keep Interrupting Me
Clear out the enemies surrounding the Abandoned Shrine before attempting to solve the puzzle. This will give you the peace and quiet you need to focus on the clues and rotate the panels without interruption. Use stealth tactics to avoid unnecessary combat.
Alternative Solutions and Theories
While the Fire -> Water -> Earth -> Wind -> Spirit sequence is the most common solution, some players have reported success with alternative sequences. It’s possible that the puzzle has slight variations depending on the difficulty level or random generation.
Exploring Different Symbol Combinations
If you’re consistently failing with the standard sequence, try experimenting with other combinations. Start by swapping the positions of two symbols at a time, and see if that triggers the Reliquary to open. Keep a record of the sequences you’ve tried to avoid repeating mistakes.
Considering Regional Differences
In some cases, the puzzle solution might be influenced by regional differences or cultural interpretations. Certain symbols might have different meanings in different regions. Consider the cultural context of Ghost of Yōtei when interpreting the clues.
Searching Online Communities
If you’re truly stumped, don’t hesitate to seek help from online communities. Forums, wikis, and social media groups dedicated to Ghost of Yōtei are excellent resources for finding alternative solutions and theories. Share your findings and collaborate with other players to crack the code.
Mastering Future Puzzles in Ghost of Yōtei
The Reliquary of Courage is just one of many puzzles you’ll encounter in Ghost of Yōtei. By mastering the skills and techniques used to solve this early-game challenge, you’ll be well-equipped to tackle future riddles.
Developing Observational Skills
The most important skill for puzzle-solving is observation. Pay close attention to the details of your surroundings. Look for patterns, sequences, and hidden clues. The environment is often your greatest ally in deciphering the game’s mysteries.
Experimenting with Different Approaches
Don’t be afraid to experiment with different approaches. If one method isn’t working, try something else. Think outside the box and consider alternative interpretations of the clues. The more you experiment, the better you’ll become at finding solutions.
Utilizing Resources and Guides
Take advantage of online resources and guides. Walkthroughs, forums, and wikis can provide valuable insights and hints. However, try to avoid relying solely on these resources. Use them as a last resort, after you’ve exhausted your own efforts.
Enjoying the Challenge
Ultimately, puzzle-solving should be an enjoyable experience. Embrace the challenge and appreciate the satisfaction of cracking a difficult code. Don’t get discouraged by setbacks. Persistence and determination are key to success.
We hope this comprehensive guide has provided you with the knowledge and tools you need to solve the Reliquary of Courage puzzle in Ghost of Yōtei. Remember to explore thoroughly, analyze the clues carefully, and experiment with different solutions. With patience and perseverance, you’ll conquer this challenge and reap the rewards. Good luck, samurai!