Conquering the Bell Beast: Your Definitive Guide to Defeating This Formidable Hollow Knight Silksong Foe
The world of Hollow Knight Silksong is teeming with challenges, each designed to test your mettle and refine your combat prowess. Among the earliest and most significant of these trials is the Bell Beast, a hulking adversary that stands as a formidable gatekeeper in the vibrant region of Mosshome. This guardian, with its substantial health pool and aggressive attack patterns, demands a deep understanding of movement, timing, and strategic engagement. Many adventurers find themselves perplexed, their initial encounters ending in swift defeat. However, with meticulous preparation and a clear understanding of its mechanics, mastering the Bell Beast is not only achievable but a crucial step in your journey through Pharloom. Here at Gaming News, we’ve meticulously dissected this encounter, providing you with the comprehensive strategy needed to outrank any other guide and emerge victorious.
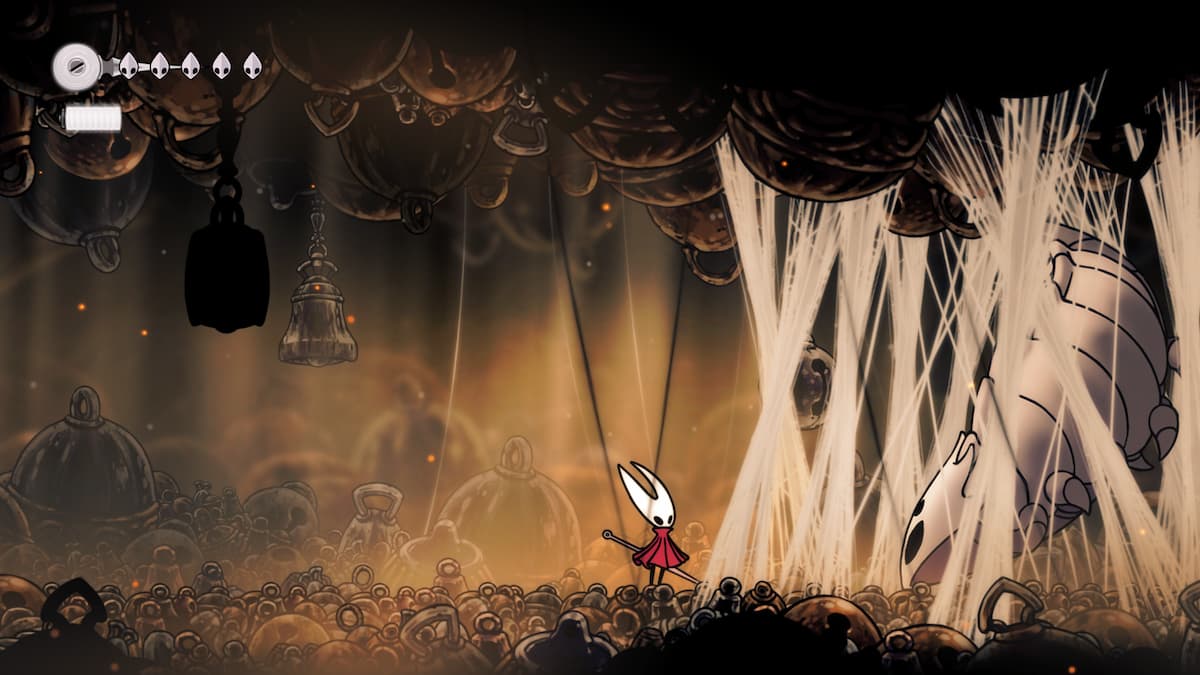
Unlocking the Path to Mosshome and the Bell Beast’s Lair
Your journey to confront the Bell Beast begins with the unlocking of a pivotal new ability: the Skillspear. This initial power-up is indispensable for progressing through the early stages of Hollow Knight Silksong, acting as a key to various blocked pathways and secrets. You will find the Bell Beast situated to the east of your entry point into Mosshome, its presence initially obscured by a thick tapestry of cobwebs. Only by wielding the Skillspear can these impediments be cleared, granting you access to the arena where this demanding boss battle unfolds. Without the Skillspear, the Bell Beast remains an insurmountable obstacle, highlighting its role as a tutorial boss that forces players to adapt and utilize new mechanics. This upfront requirement emphasizes the game’s design philosophy: progression is intrinsically linked to mastering new abilities.
Deconstructing the Bell Beast Encounter: A Three-Phase Approach
The battle against the Bell Beast is not a monolithic challenge but rather a carefully orchestrated sequence of escalating threats, divided into three distinct phases. Each phase introduces new attack variations or intensifies existing ones, demanding continuous adaptation from the player. Understanding these phases is paramount to developing a winning strategy. We will meticulously break down each stage, providing actionable advice for every scenario you might face.
Phase 1: The Ground Assault and Aerial Slam
Upon initiating the confrontation, the Bell Beast emerges from the ground, accompanied by a localized dust cloud. The nature of this initial appearance dictates its subsequent attack.
The Ground Charge: A Test of Evasion
When the dust cloud generated is small, the Bell Beast will immediately launch into a swift ground charge. This attack is deceptively fast and covers a significant portion of the arena. To effectively counter this, a well-timed long press of your jump button is essential. This maneuver will allow you to soar over the charging beast. Furthermore, as you ascend or descend, you can capitalize on the brief airborne window to execute a downward attack onto the Bell Beast’s head. This not only deals damage but also serves as a crucial tactic for maintaining offensive pressure while safely evading. Mastering this jump and attack sequence is fundamental to survival in this phase. The key here is rhythm; observe the dust cloud’s size and react accordingly.
The Body Slam: Finding Safety Beneath the Fury
If the dust cloud is larger upon the Bell Beast’s emergence, it signals a more potent assault: an aerial body slam. Coinciding with this, the beast will often emit a distinctive battle cry. During this attack, the Bell Beast will leap into the air and descend with considerable force. The safest position during this maneuver is directly beneath the boss. By positioning yourself under its trajectory, you can avoid the direct impact of its descent. Crucially, after it completes its slam and briefly pauses before burrowing back underground, a valuable window of opportunity arises. This is your chance to unleash a barrage of hits, dealing significant damage to the creature. Patience and precise positioning are key. Do not get greedy; land your hits and then prepare to reposition for its next emergence. This careful dance of evasion and offense is the cornerstone of Phase 1 victory.
Transitioning to Phase 2: The Damage Threshold
As you successfully deplete a portion of the Bell Beast’s health through these evasive maneuvers and calculated attacks, the encounter will transition into its second phase. The visual cues for this transition are usually subtle, but the shift in attack patterns will be unmistakable.
Phase 2: The Rolling Menace of Bells
With the advent of Phase 2, the Bell Beast introduces a new and significantly more dangerous offensive capability: the launching of bells. These projectiles pose a constant threat, and their trajectory demands careful observation and reaction.
Bell Projectiles: Dodging the Deadly Chimes
The Bell Beast will now begin to throw bells at you. This attack can occur twice in rapid succession, meaning you must remain vigilant and prepared for immediate evasion. These bells are not merely cosmetic; they are potent projectiles that can inflict substantial damage, typically costing two health points upon impact. The most effective strategy for dealing with these rolling bells is to stay close to the arena walls. By maintaining proximity to the edges, you can utilize your jump ability to effectively leap over the bells as they roll towards you. The timing here is critical. You need to anticipate the bell’s arrival and initiate your jump just as it reaches your position. Sometimes, a short dash might also be incorporated for finer adjustments.
Strategic Positioning: The Wall’s Advantage
While staying close to the walls, it is also important to observe the Bell Beast’s position. Often, it will pause between bell throws, offering a brief moment to land a few quick strikes. However, the primary focus in this phase should be on survival and consistent evasion. The damage output from the Bell Beast in this phase is designed to wear you down if you are not careful. Prioritize dodging over attacking when the bells are in play. Understanding the rhythm of its bell throws and the optimal jump timing will allow you to navigate this phase with minimal damage taken. Remember, these bells can be thrown in either direction, so awareness of the entire arena is still important, even when hugging a wall.
Conserving Resources: Healing Opportunities
Opportunities for healing in Phase 2 are scarce and often tied to precise timing. You might find brief openings after the Bell Beast completes a dual bell throw or when it pauses to prepare its next attack. It is crucial to recognize these moments and decide whether to attempt a quick heal or focus on evading the next barrage. If you have acquired any abilities that grant temporary invincibility or allow for quick evasive dashes, this is an excellent phase to utilize them.
Phase 3: The Cacophony of Falling Bells
As you continue to chip away at the Bell Beast’s remaining health, you will enter its final and most chaotic phase. This stage escalates the projectile threat considerably, transforming the arena into a deadly obstacle course.
The Sky’s the Limit: Dodging the Cascading Bells
In its final throes of desperation, the Bell Beast unleashes its most devastating attack: a cry that summons multiple bells to fall from the ceiling. This creates a relentless barrage of falling projectiles, making the arena a much more dangerous place. The key to surviving this onslaught is to stay towards the edges of the arena walls. Similar to Phase 2, your jump ability will be your most valuable tool for dodging the bells as they descend. However, the sheer number of bells falling means that precise timing and constant movement are absolutely essential. There will be very few moments of respite.
Strategic Patience: Punishing Brief Openings
While Phase 3 introduces no entirely new melee attacks from the Bell Beast itself, the overwhelming number of falling bells means you must concurrently manage two distinct threats. You will be dodging falling debris while also trying to avoid any ground-based attacks the beast might still perform. The strategy here is one of extreme patience and calculated aggression. You cannot afford to be reckless. Wait for your opportune moments to strike. These openings will be brief, often occurring when you’ve successfully dodged a cluster of falling bells and the Bell Beast is momentarily exposed. Land a few quick hits and then immediately retreat to a safe position to resume your evasive maneuvers.
Observing Patterns Within Chaos
Even within the apparent chaos of Phase 3, subtle patterns can be observed. Some players report that the bells tend to fall in slightly predictable sequences or clusters. Paying close attention to the initial descent of bells can sometimes give you a clue as to where the next ones might land, allowing for more proactive evasion. Furthermore, the Bell Beast itself will still be present on the ground. While its direct attacks might be less frequent, it can still pose a threat if you are caught too close. Always be mindful of its position and its potential for a lunging attack or its ground emergence.
The Final Push: Securing Victory
By diligently evading the constant onslaught of bells and judiciously landing your attacks during the fleeting openings, you will eventually deplete the Bell Beast’s final reserves of health. The defeat of this boss signifies not only your triumph over a challenging encounter but also your readiness for the deeper, more complex trials that Hollow Knight Silksong has in store.
Essential Skills and Preparations for the Bell Beast
Beyond understanding the phases, a few core aspects of your Silksong character will be instrumental in overcoming the Bell Beast.
Mastery of Movement: The Core of Survival
Your ability to jump, dash, and potentially double jump (if acquired early) is paramount. The entire Bell Beast fight is an exercise in precise spatial awareness and responsive movement. Practice your aerial maneuvers and ensure you can quickly change direction and altitude. Without fluid control over your character’s movement, the projectile barrages and charges will quickly overwhelm you.
The Skillspear’s Utility Beyond Progression
While the Skillspear is necessary to reach the Bell Beast, its offensive capabilities can also be surprisingly effective. Its range and damage can be crucial for landing those quick hits during brief openings, especially in Phases 2 and 3. Ensure you are familiar with its attack patterns and can integrate it seamlessly into your combat rhythm.
Consumables and Charm Loadouts (Hypothetical)
While specific charm mechanics are still being fully explored and confirmed for Hollow Knight Silksong, it is prudent to consider how potential charms could impact this fight. Charms that enhance movement speed, attack power, or provide defensive buffs could be invaluable. Similarly, having a readily available source of healing items (if such mechanics persist from the original Hollow Knight) will be critical for recovering from inevitable hits. Experiment with different loadouts as you progress and identify what works best for your playstyle against this particular boss. A charm that perhaps increases your jump height or allows for a quicker descent after a jump might also prove beneficial for navigating the bell projectiles.
Final Thoughts on Defeating the Bell Beast
The Bell Beast is more than just a boss; it’s a gauntlet designed to test your understanding of Hollow Knight Silksong’s core gameplay loop. It forces you to engage with new mechanics, refine your reflexes, and develop a patient, strategic approach to combat. By meticulously studying its attack patterns, understanding the transition between phases, and prioritizing precise movement and well-timed evasions, you will undoubtedly conquer this formidable foe. Remember, persistence is key. Do not be discouraged by initial setbacks. Each attempt is a learning opportunity. Analyze what went wrong, adjust your strategy, and return to the arena with renewed determination. The satisfaction of finally defeating the Bell Beast will be immense, a testament to your growing mastery of Pharloom and a promising prelude to the greater challenges that lie ahead in Hollow Knight Silksong. Here at Gaming News, we are committed to providing you with the most comprehensive and effective strategies to ensure your success in every adventure.