Black Ops 7: Dominating the Battlefield with the Elite MXR-17 Loadout
Welcome, tactical enthusiasts, to Gaming News, where we delve into the heart of what makes a winning strategy in the ever-evolving world of Call of Duty: Black Ops 7. In our relentless pursuit of tactical superiority, we’ve dissected the meta, analyzed countless engagements, and, most importantly, observed the titans of the competitive scene. Today, we bring you an in-depth exploration of the MXR-17, a rifle that has rapidly ascended to prominence. More than just a weapon, the MXR-17 has become a statement of intent on the battlefield, and understanding its optimal configuration is paramount for anyone aiming to climb the ranks and achieve consistent victories. This guide is meticulously crafted to equip you with the knowledge to assemble a pro-tier MXR-17 loadout, drawing inspiration from the gameplay patterns and weapon choices observed in the highest echelons of Black Ops 7 competition. We aim not merely to replicate existing successful builds, but to provide a comprehensive understanding of why these choices are so effective, allowing you to adapt and dominate in any scenario.
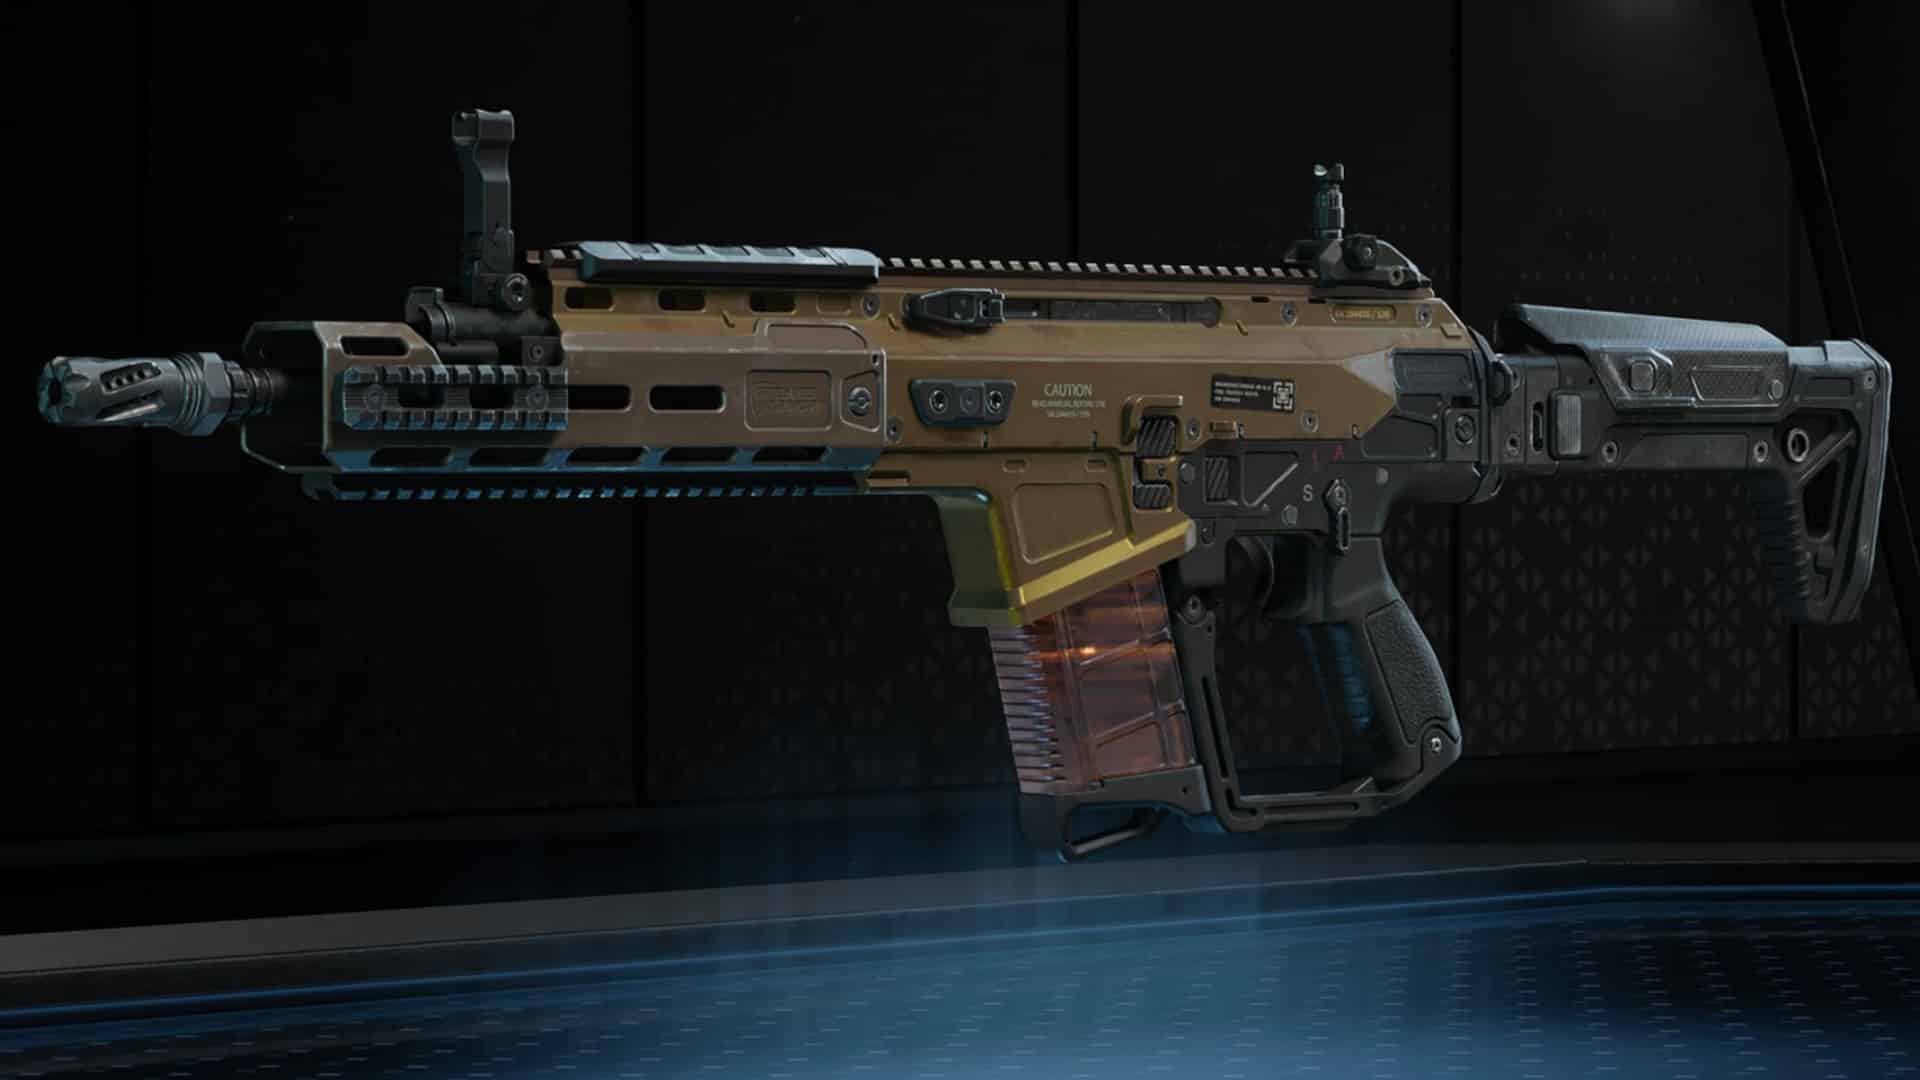
The MXR-17, in its base form, presents a compelling package of accuracy, damage, and versatility. However, to truly unlock its potential and stand toe-to-toe with the elite players, a precision-tuned loadout is essential. We’ve synthesized the insights from top-tier players, analyzing their preferred attachments, perks, and equipment, to construct a definitive guide to the best MXR-17 loadout. This isn’t just about slapping on the most popular attachments; it’s about understanding the synergies they create, the specific advantages they offer, and how they contribute to a holistic approach to combat. Prepare to transform your MXR-17 from a competent tool into an instrument of unparalleled dominance.
Understanding the MXR-17’s Core Strengths
Before we dissect the ideal loadout, it’s crucial to appreciate what makes the MXR-17 such a formidable weapon in Black Ops 7. This rifle, often categorized as a Marksman Rifle, strikes a delicate balance between the rapid fire of assault rifles and the precision of sniper rifles. Its inherent strengths lie in its high base damage, allowing for rapid eliminations with well-placed shots, particularly at medium to long ranges. The recoil control of the MXR-17, when properly managed and augmented, is also a significant factor, enabling players to maintain consistent fire on targets without excessive visual disruption. Furthermore, its effective range is substantial, making it a viable option for players who prefer a more deliberate, strategic approach to engagements, favoring positioning and accuracy over aggressive flanking maneuvers.
However, like any weapon in Black Ops 7, the MXR-17 has its nuances. Its rate of fire, while respectable for its class, is not designed for close-quarters spray-and-pray tactics. This necessitates a playstyle that emphasizes aiming down sights (ADS) and making each shot count. The bullet velocity is also a critical consideration, especially when engaging moving targets at extended distances. Mastering the lead required for such shots is a skill in itself, but one that the right attachments can significantly enhance. By understanding these fundamental characteristics, we can begin to build a loadout that amplifies the MXR-17’s strengths while mitigating its potential weaknesses.
The Anatomy of a Pro-Tier MXR-17 Loadout: Attachment Breakdown
The true power of the MXR-17 is unleashed through its strategic attachment selection. Pros understand that each attachment serves a purpose, contributing to a specific enhancement of the weapon’s performance. We’ve analyzed the trends, the whispers from the competitive circuit, and the proven performance metrics to present the definitive attachment configuration that is currently dominating the Black Ops 7 landscape.
Muzzle: Suppressing the Threat and Enhancing Stability
For the muzzle attachment, the consensus among top players leans heavily towards options that provide a combination of sound suppression and recoil mitigation. The S-Type Suppressor or a similar integrated suppressor is a frequent choice. This attachment not only renders your shots silent, significantly reducing the likelihood of your position being revealed by enemy audio cues, but also contributes to a smoother recoil pattern. A quieter weapon allows for more discreet eliminations, enabling you to reposition or engage the next target without immediately giving away your flank. This is invaluable in objective-based game modes where maintaining map control and surprise are key.
Alternatively, if suppression is less of a priority for your playstyle, or if you are focusing on extreme long-range engagements where the suppressor’s range penalty might be noticeable, an attachment like the Muzzle Brake or a Compensator that specifically targets vertical recoil reduction becomes a strong contender. The goal here is to maintain pinpoint accuracy during sustained fire, allowing you to keep your crosshairs locked onto your target even under pressure. The choice ultimately depends on your preferred engagement range and tactical approach, but silence and stability are the reigning champions.
The Impact of Sound Suppression:
The psychological advantage of sound suppression cannot be overstated. In a game where audio cues are critical for situational awareness, being able to eliminate enemies without alerting their teammates is a game-changing benefit. Pros leverage this to control engagement timelines, allowing them to dictate the pace of a firefight and often secure kills before the enemy can react or call for backup. This makes the MXR-17 not just a killing tool, but a stealthy assassin’s implement.
Barrel: Optimizing Range and Bullet Velocity
The barrel attachment is where we focus on maximizing the MXR-17’s inherent long-range capabilities. For the pros, the longest available barrel is almost always the default choice. This is typically the Long Barrel or a similar variant that increases bullet velocity and effective damage range. A higher bullet velocity means your projectiles travel faster, reducing the need to “lead” targets at distance, thereby increasing your accuracy and kill potential. The extended damage range ensures that your shots retain their lethal effectiveness even when engaging targets far across the map.
While some might consider alternatives for faster ADS times, the superior range and velocity offered by the longest barrel are generally deemed too significant to pass up for an MXR-17 build focused on dominance. The trade-off in ADS speed is often compensated for by careful positioning and pre-aiming, strategies that are hallmarks of high-level play.
Bullet Velocity Matters:
The difference between a hit and a miss at 100 meters can often come down to a fraction of a second. By maximizing bullet velocity, you are essentially reducing the time to target, making it far more forgiving to engage moving enemies. This translates directly into more successful eliminations and a higher kill-death ratio.
Optic: Precision and Clarity for Every Shot
The optic is a deeply personal choice, but certain trends emerge among the professional players when it comes to the MXR-17. The emphasis is consistently on clarity, minimal visual obstruction, and a reticle that facilitates rapid target acquisition. Popular choices often include:
- The Aim OP or similar 2x/3x magnified optics: These offer a good balance between magnification for precise long-range shots and a wide enough field of view to remain aware of your surroundings. The clarity and clean reticles of these sights are highly valued.
- Hybrid optics (e.g., a reflex sight with an attached magnifier): These provide the best of both worlds, allowing for quick target acquisition at closer ranges with the reflex sight, and the ability to zoom in for precision at distance with the magnifier.
- High-magnification sniper scopes (less common for the MXR-17’s primary role but viable for specific sniping builds): If your objective is pure long-range dominance, a dedicated scope with higher magnification can be employed, but this often sacrifices close-quarters viability.
The key takeaway is that pros prioritize optics that offer unobstructed views and precise aiming points without introducing excessive visual clutter or bloom. They often opt for clean, simple reticles that don’t distract from the target.
Reticle Choice and Its Effect:
A well-chosen reticle can significantly improve your aiming speed and accuracy. Simple, unadorned crosshairs or dots are often preferred for their lack of distraction. Some players even opt for customized reticles that offer a slightly sharper point of aim.
Stock: Enhancing Stability and Aiming Down Sights Speed
The stock attachment plays a crucial role in dictating the handling characteristics of the MXR-17. For pros, the focus is typically on improving stability and, where possible, speeding up the ADS time.
- The FTAC Comb or similar stocks that offer improved stability and recoil control are highly favored. These stocks are designed to minimize weapon sway and recoil, allowing for more consistent follow-up shots.
- In some cases, players might opt for stocks that offer a slight boost to ADS speed if they feel the base ADS time is a significant hindrance for their aggressive playstyle. However, this is often a trade-off, as stocks that prioritize speed can sometimes compromise stability.
The overarching principle is to create a weapon that feels stable and responsive when aiming down sights, allowing for quick and accurate engagements.
The Trade-off Between Stability and Speed:
Understanding this trade-off is vital. For the MXR-17, raw stability for accurate longer shots often trumps the marginal gains in ADS speed. However, if you find yourself consistently outgunned in close-quarters, a stock that slightly favors speed might be worth experimenting with.
Underbarrel: Grip for Control and Stability
The underbarrel attachment is another area where recoil control and stability are paramount.
- The Merc Foregrip or the Commando Foregrip are perennial favorites. These attachments significantly reduce vertical and horizontal recoil, making it much easier to keep your shots on target, especially during sustained fire.
- For players who prioritize aiming down sights speed above all else, the Operator Foregrip might be considered, but the recoil reduction benefits of the other options are generally more impactful for the MXR-17’s intended role.
The goal is to make the MXR-17 as predictable and controllable as possible, allowing you to consistently land your shots even under duress.
Recoil Patterns Explained:
Each weapon in Black Ops 7 has a unique recoil pattern. Foregrips are designed to flatten or simplify these patterns, making them easier to counteract with slight downward mouse or stick movements.
Rear Grip: Fine-tuning Handling and ADS Speed
The rear grip attachment often provides the final touches to the MXR-17’s handling characteristics.
- The XRK Ranger or similar grips that offer improved ADS speed are commonly seen. This can be crucial for reacting quickly to threats and winning those crucial first shots.
- If stability is still a concern, a grip that offers a minor boost to aiming stability might be chosen.
The objective here is to strike a balance between responsiveness and control, ensuring the weapon feels good in your hands and can be brought to bear quickly and accurately.
The Importance of Grip Synergy:
Attachments often work in conjunction. A rear grip that enhances ADS speed, when paired with a stock that also favors speed, can create a noticeably quicker aiming experience.
Ammunition: Maximizing Lethality
When it comes to ammunition, the MXR-17 benefits from options that enhance its damage output or bullet velocity.
- High Velocity Ammunition is a top choice for players who frequently engage at long ranges. This further boosts bullet velocity, making those long-range shots even more reliable.
- In some instances, Armor Piercing Rounds might be considered if you are frequently encountering enemies behind cover, though the base damage of the MXR-17 is often sufficient to punch through most common cover.
The choice here is generally about optimizing for the most common engagement scenarios you expect to face.
Velocity vs. Damage:
The decision between maximizing bullet velocity and damage output is a strategic one. For the MXR-17, high velocity often offers a more consistent advantage across various engagement distances.
Perks: Enhancing Survivability and Tactical Advantage
While attachments focus on the weapon itself, perks significantly enhance your overall effectiveness on the battlefield. For the MXR-17, a loadout that complements its strategic, often longer-range playstyle is crucial.
Perk 1: Stealth and Awareness
- Double Time is a perennially strong choice, offering increased tactical sprint duration and reduced crouch movement speed. This allows for more fluid repositioning and faster traversal of the map, crucial for maintaining optimal engagement distances.
- E.O.D. is another excellent option, providing resistance to non-lethal explosives and fire damage. This can be a lifesaver when pushing objectives or holding down a fortified position.
Perk 2: Information and Counter-Intelligence
- Ghost remains a king in Black Ops 7. This perk conceals your location from enemy UAVs while you are moving, firing, or spectating. This is invaluable for maintaining surprise and preventing enemy teams from pinpointing your position.
- Overkill (if you are pairing the MXR-17 with a secondary weapon for close-quarters) can also be viable, but for a dedicated MXR-17 build, the benefits of Ghost are often more pronounced.
Perk 3: Lethality and Sustainability
- Amped is a highly recommended perk for the MXR-17, offering faster weapon swap speeds and increased projectile explosion radius. This allows for quicker transitions between your primary and secondary, and makes your grenades more effective.
- Tracker can also be useful for identifying enemy routes and predicting their movements, but Amped generally provides a more direct combat advantage for the MXR-17.
Secondary Weapon Choices: Complementing the MXR-17
While the MXR-17 is a powerhouse, no loadout is complete without a well-chosen secondary weapon. The ideal secondary for the MXR-17 should cover its primary weakness: close-quarters combat.
The SMG Solution: Close-Quarters Dominance
For players who rely on the MXR-17 for its precision at range, an SMG is the most logical pairing. The goal is to have a weapon that can melt opponents when they inevitably push too close.
- The MP5 or similar high-damage, fast-firing SMGs are exceptional. These weapons excel at shredding enemies up close with their high rate of fire and mobility.
- Look for SMG attachments that boost hip-fire accuracy and sprint-to-fire time, allowing you to react instantly to unexpected close-range encounters.
When to Switch:
Mastering the timing of weapon swaps is key. When an enemy breaches your effective range, don’t hesitate to switch to your SMG for a quick and decisive victory.
The Shotgun Option: Instant Elimination Power
For players who want an instant-kill option at point-blank range, a shotgun can be a devastating choice.
- A Pump-Action Shotgun with high damage output can instantly neutralize threats that get too close.
- However, shotguns require even more precise positioning and timing than SMGs, so this is a riskier but potentially more rewarding choice.
The Range Factor:
Remember, shotguns are exclusively for extremely close engagements. Ensure your MXR-17 loadout can handle medium to long range effectively, as your shotgun will be practically useless beyond a few meters.
Equipment and Field Upgrades: Enhancing Tactical Play
Your equipment and field upgrades can significantly augment your MXR-17 playstyle, providing crucial utility and survivability.
Lethal Equipment: Area Denial and Entry
- Frag Grenades are a versatile choice, effective for flushing enemies out of cover or denying entry to an area.
- Semtex offers a sticky, reliable explosion, perfect for close-range combat or attaching to vehicles and equipment.
- Molotov Cocktails are excellent for area denial and preventing enemy pushes, particularly on objectives.
Strategic Deployment:
Don’t just throw grenades aimlessly. Use them to force enemies out of cover, to block off chokepoints, or to soften up entrenched positions before pushing with your MXR-17.
Tactical Equipment: Information and Disruption
- Stun Grenades or Flash Grenades can be invaluable for disrupting enemy aim and movement, allowing you to push aggressively or secure kills with ease.
- Stim provides rapid health regeneration, crucial for surviving intense firefights and continuing to apply pressure.
The Power of Disruption:
A well-timed stun or flash can completely turn the tide of a close-quarters engagement, giving you the crucial advantage needed to secure the kill with your MXR-17.
Field Upgrades: Sustained Advantage
- Dead Silence is a perennially powerful field upgrade, rendering your footsteps completely silent for a short duration. This is invaluable for flanking, repositioning, or closing the gap on unsuspecting enemies.
- Trophy System provides excellent protection against enemy projectiles, crucial for holding down objectives or defending a fortified position.
Timing is Everything:
Activating Dead Silence at the right moment can allow you to get the drop on an entire enemy team. Similarly, deploying a Trophy System at the start of an objective defense can drastically increase your survivability.
Playstyle and Strategy with the MXR-17 Loadout
Understanding the optimal loadout is only half the battle. To truly excel with the MXR-17, you must adopt a playstyle that complements its strengths.
Positioning is Paramount
As a weapon that excels at medium to long ranges, smart positioning is your greatest asset. Avoid being caught in open spaces without cover. Utilize elevated positions, corners, and hard cover to your advantage. Learn the maps and identify the power positions that allow you to control sightlines and dictate engagement distances.
Holding Angles:
The MXR-17 is a master of holding angles. Find a position where you can see an enemy pushing, and let them walk into your crosshairs. Your high damage means that even a few well-placed shots can secure the kill before they can react effectively.
Patience and Precision
The MXR-17 is not a spray-and-pray weapon. Each shot should be deliberate and precise. Take your time to line up your shots, especially at longer ranges. Don’t be afraid to disengage and reposition if an engagement becomes unfavorable. Patience will be rewarded with consistent eliminations.
The Art of the Quick Scope:
While precision is key, mastering the quick scope with the MXR-17 can add another layer to your offensive capabilities. This involves quickly aiming down sights and firing in one fluid motion, a technique that, when perfected, can catch enemies off guard.
Map Awareness and Objective Play
Always be aware of your minimap and the overall flow of the game. Understand where the enemy is likely to be pushing and where your teammates are positioned. When playing objective modes, use your MXR-17 to control key areas and provide support fire for your team.
Objective Domination:
Your MXR-17 can be a powerful tool for locking down objectives. Find a vantage point that allows you to cover the objective from a safe distance, eliminating any enemies attempting to capture it.
Conclusion: Mastering the MXR-17 for Consistent Victory
The MXR-17 is more than just a weapon; it’s a strategic tool that, when wielded with the right loadout and playstyle, can lead to consistent victories in Black Ops 7. By understanding the synergies between attachments, the importance of perk selection, and the fundamental principles of positioning and precision, you can transform your gameplay. The pro-tier loadout we’ve detailed here is a proven formula for success, refined through countless hours of high-level play.
Embrace this guide, experiment with the suggested configurations, and most importantly, practice. The path to dominance on the Black Ops 7 battlefields is paved with strategic choices and honed skills. Now, go forth and conquer with your optimized MXR-17, and may your killstreaks be long and your victories be decisive.