ARC Raiders: Reduced to Rubble Quest Guide – Your Definitive walkthrough to Success
Welcome, fellow Raiders, to an exhaustive guide meticulously crafted to help you conquer the Reduced to Rubble quest in ARC Raiders. This mission, often a formidable early-game challenge, demands a precise understanding of enemy behavior, optimal loadouts, and strategic navigation through its treacherous Martian landscapes. Here at Gaming News, we are dedicated to providing you with the most detailed and actionable insights to ensure your success, allowing you to ascend through the ranks and contribute effectively to the Raider cause. We have thoroughly analyzed the most successful guides available and have distilled their essence, amplifying it with comprehensive strategies and often-overlooked details to create a resource that aims to not only inform but to empower you.
The Reduced to Rubble quest is not merely a stepping stone; it is a crucial test of your adaptability and tactical prowess. It introduces players to some of the core mechanics of ARC Raiders, including resource gathering, enemy engagement, and objective completion under pressure. Mastering this quest means mastering the fundamental skills that will serve you throughout your journey against the relentless alien threat. This guide will break down every aspect of the Reduced to Rubble mission, from the initial deployment to the final triumphant extraction, ensuring no detail is left unexamined.
Understanding the Reduced to Rubble Quest Objectives
The Reduced to Rubble quest, at its core, revolves around a series of interconnected objectives designed to test your combat effectiveness and environmental awareness. While the specific order and exact nature of tasks can exhibit slight variations due to the procedural generation inherent in ARC Raiders, the fundamental goals remain consistent. Players will typically be tasked with:
- Locating and Securing the Crashed Dropship: This serves as your initial anchor point and often a source of vital early-game supplies. Understanding its spawn locations and the environmental hazards surrounding it is paramount.
- Gathering Essential Resources: This often involves scavenging specific components from downed enemy mechs, derelict structures, or designated resource nodes. The types of resources and their locations are key to efficient progression.
- Defending Key Locations: You will frequently be required to establish and defend fortified positions against waves of enemy incursions. This necessitates understanding enemy attack vectors and effective defensive tactics.
- Eliminating Specific Enemy Threats: Certain encounters within the quest will culminate in the need to neutralize high-priority targets, such as heavily armored mechs or swarms of smaller, agile drones.
- Activating and Defending Control Points: The quest may also involve capturing and holding strategic points on the map to progress. These points are often hotly contested and require coordinated defense.
Each of these objectives, while seemingly straightforward, presents unique challenges that require specific strategies. Our comprehensive breakdown will equip you with the knowledge to tackle each one with confidence.
Initial Deployment and Dropship Recovery
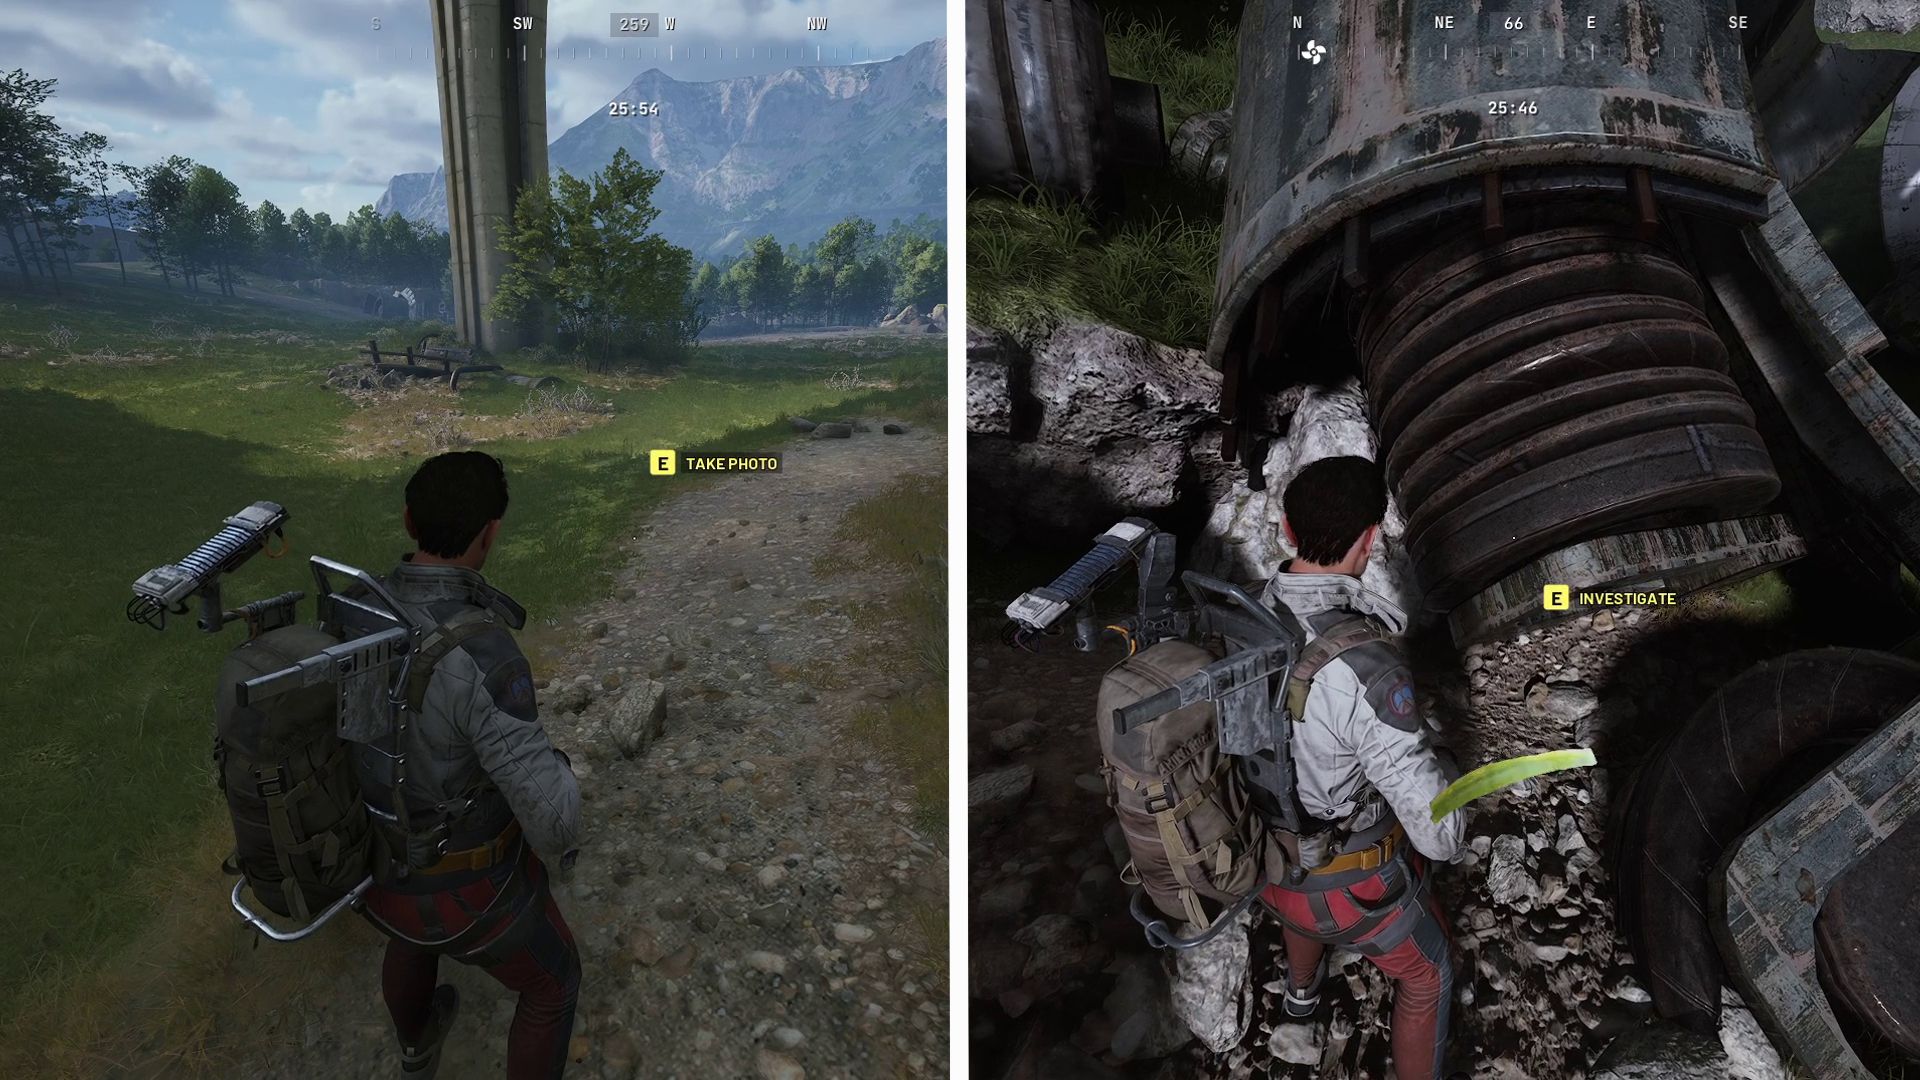
Upon commencing the Reduced to Rubble quest, your primary objective is to locate the downed dropship. This massive piece of Raider technology is not only your starting point but also a crucial hub for initial resource acquisition and a potential fallback position. The dropship’s landing zone is procedurally generated, meaning it can appear in various biomes and terrain types across the mission map.
Identifying Potential Dropship Spawn Zones
While pinpointing the exact location is impossible without direct intel, experienced Raiders learn to recognize environmental cues and map patterns that suggest a recent crash site. Look for:
- Disturbed Terrain: Large areas of impact, broken foliage, and overturned rock formations are strong indicators.
- Smoke Plumes and Debris Fields: Even after some time, residual smoke and scattered wreckage can be visible from a distance.
- Proximity to Mission Objectives: The dropship is often strategically placed near other early-game quest markers, encouraging players to move towards them naturally.
- Enemy Patrols: The crash site can sometimes attract enemy patrols, so be prepared for an immediate engagement upon arrival.
Securing the Dropship and Initial Scavenging
Once you locate the dropship, your immediate priority is to secure the area. Expect resistance. Smaller enemy units, such as Raiders and Stalkers, are often drawn to the noise and activity of a crash. Swiftly neutralize these threats to establish a safe perimeter.
Inside and around the dropship, you will find a wealth of essential supplies:
- Ammunition Caches: Replenish your starting ammo supplies.
- Medical Kits: Crucial for replenishing health.
- Crafting Materials: Early-game resources for weapon upgrades and utility items.
- Data Logs and Intel: These can provide context to the mission and sometimes hint at immediate next steps or enemy weaknesses.
Always prioritize scavenging all available resources from the dropship before proceeding. These initial supplies are vital for your survival in the subsequent stages of the quest. Don’t underestimate the value of even seemingly minor components.
Resource Gathering: The Lifeblood of Your Mission
The Reduced to Rubble quest heavily emphasizes resource acquisition. These materials are not just for personal upgrades; they are often directly required to advance the quest itself, whether it’s to repair a critical piece of equipment or to fabricate a necessary tool.
Types of Essential Resources and Their Uses
- Scrap Metal: The most common crafting material. Used for basic weapon upgrades, armor repairs, and fabricating lower-tier utility items. Found in abundance from destroyed mechs and derelict structures.
- Electronics Components: Essential for more advanced weapon modifications, targeting systems, and tactical gadgets. Often found in abandoned outposts, damaged robotic units, and specialized containers.
- Power Cores: Rare but vital for high-tier crafting, special weapon abilities, and activating certain mission objectives. These are typically guarded by tougher enemies or found in hazardous, high-risk areas.
- Bio-Samples: Used in certain medical or experimental upgrades. Their locations are often tied to specific environmental anomalies or defeated biological enemy variants.
Efficient Resource Acquisition Strategies
To maximize your resource gains and minimize risk, consider these strategies:
- Prioritize Mech Dismantling: Every defeated enemy mech is a potential loot source. Focus fire on weak points to bring them down quickly, then systematically dismantle their components for valuable materials. Lancer mechs, for instance, yield a good amount of scrap and electronics.
- Scan Your Surroundings: Utilize your Raider’s scanning abilities to highlight nearby resource nodes and containers. This prevents you from missing out on crucial supplies.
- Explore Off the Beaten Path: While sticking to the main objective path is efficient, venturing slightly off-route can often lead to hidden caches and untouched resource nodes.
- Team Coordination: If playing in a squad, designate roles for resource gathering. One player can focus on combat while others systematically scavenge the fallen enemies and environment.
- Understand Enemy Drops: Different enemy types drop different resources. Heavily armored Enforcers might yield more Power Cores, while smaller, faster units like Stalkers might provide more basic Scrap Metal and Electronics.
Defending Vital Objectives: Holding the Line
A significant portion of the Reduced to Rubble quest involves defending key locations from overwhelming enemy assaults. These defense phases are critical for quest progression and often serve as a bottleneck for less experienced Raiders.
Identifying Defense Points
Defense points are usually marked on your HUD with distinct icons, often indicating a structure or a critical piece of equipment that needs protection. These could range from a vital communication array to a reinforced Raider outpost.
Effective Defensive Tactics
Successfully defending these points requires more than just brute force.
- Strategic Placement of Turrets and Traps: Utilize deployable turrets and mines. Place turrets at chokepoints where enemies are forced to funnel through. Mines are excellent for area denial and softening up incoming waves.
- Utilize Cover and High Ground: Always seek out advantageous positions. Elevated positions offer better lines of sight and allow you to rain fire down on approaching enemies, while solid cover can absorb incoming damage.
- Concentrate Fire on Priority Targets: Identify the most dangerous enemies in an incoming wave. This might include heavily armored units like Titans or units capable of disabling your defenses, such as Disruptors. Focus your collective firepower on eliminating these threats first.
- Manage Ammunition and Abilities: During intense defense phases, ammunition can run dry quickly. Be mindful of your ammo count and use your Raider’s special abilities strategically to conserve ammunition and maximize damage output.
- Repair and Reinforce: If structures or deployed defenses can be repaired, assign a team member to this task during lulls in combat. This significantly increases your chances of survival through prolonged assaults.
- Environmental Awareness: Pay attention to the environment. Are there explosive barrels nearby that can be used against enemies? Are there destructible elements that enemies can use to their advantage?
Eliminating High-Priority Threats: The Boss Encounters
The Reduced to Rubble quest often culminates in or features encounters with formidable enemy units. These are not your standard fodder; they are heavily armored, possess devastating weaponry, and require a coordinated effort to bring down.
Identifying Threat Types
- Titans: Massive, heavily armored mechs that are the cornerstone of the enemy’s ground forces. They possess immense firepower and devastating melee attacks.
- Hunters: Agile, fast-moving mechs that specialize in flanking maneuvers and rapid assaults. They can be difficult to track and often target vulnerable players.
- Disruptors: Support units that can disable Raider equipment, including weapons and shields. Prioritizing their elimination is crucial to prevent your team from being overwhelmed.
- Siege Tanks: Stationary or slow-moving heavy weapons platforms that can deliver devastating area-of-effect damage.
Strategies for Defeating Elite Enemies
- Exploit Weak Points: Every elite enemy has specific weak points. These are often glowing or visually distinct areas on their armor. Concentrating fire on these points deals significantly more damage and can lead to critical hits. For Titans, targeting their joints or exposed power sources is often effective.
- Utilize Heavy Weaponry and Explosives: Your starting loadout might not be sufficient. Craft or find heavy weapons like rocket launchers or grenade launchers. Their splash damage can be effective against armored targets.
- Coordinate Attacks: Communicate with your squad. Designate targets and ensure everyone is focusing their fire on the same enemy. A unified assault is far more effective than scattered attacks.
- Maintain Distance and Mobility: Against powerful enemies, maintaining distance is key to avoiding devastating attacks. Use cover effectively and constantly reposition to avoid area-of-effect abilities.
- Stagger and Interrupt: Some elite enemies can be staggered or interrupted during certain attack animations. Learning these timings can give your team a crucial advantage and create openings for sustained damage.
- Environmental Hazards: Use the environment to your advantage. Lure enemies near explosive barrels or into areas where they can be damaged by environmental hazards.
Navigating the Martian Terrain: Exploration and Extraction
Beyond combat, ARC Raiders demands adept navigation. The procedurally generated maps can be vast and unforgiving.
Effective Navigation Techniques
- Utilize the MiniMap and Compass: Constantly check your mini-map for objective markers, enemy positions, and points of interest. The compass is vital for maintaining a consistent direction.
- Learn Biome Characteristics: Different biomes have unique terrain features. Deserts might offer long sightlines but little cover, while rocky canyons can provide ample hiding spots but restrict movement. Adapt your approach accordingly.
- Mark Points of Interest: Use your ping system to mark valuable resources, enemy patrols, or potential dangers for your teammates.
- Understand Verticality: Many maps feature multi-layered environments. Utilizing high ground or exploring underground tunnels can provide tactical advantages or uncover hidden paths.
Successful Extraction Strategies
The final phase of any ARC Raiders mission is extraction. This is often a tense period where enemies may converge on your extraction point.
- Secure the Extraction Zone: Before the dropship arrives, clear the immediate extraction zone of any enemy presence.
- Defend During Arrival: Be prepared for a final wave of enemies attempting to prevent your escape. Establish a strong defensive perimeter.
- Prioritize Survival: If the situation becomes too dire, don’t be afraid to use any remaining high-damage abilities or consumables to survive and make it to the extraction craft.
- Teamwork is Paramount: Ensure all squad members are accounted for and make it to the extraction point. A successful extraction requires everyone to be on board.
Recommended Loadouts for Reduced to Rubble
While player preference and available arsenal play a significant role, certain loadouts excel in the Reduced to Rubble quest.
Primary Weapon Choices
- Assault Rifles (e.g., The Bolt, The Marauder): Offer a good balance of range, damage, and rate of fire, making them versatile for most engagements.
- Shotguns (e.g., The Hammer): Excellent for close-quarters combat, especially when dealing with swarms of smaller enemies or clearing out defenders at objectives.
- SMGs (e.g., The Stinger): Ideal for rapid fire and close-to-medium range, effective against agile threats.
Secondary Weapon Choices
- Sniper Rifles (e.g., The Longshot): Crucial for taking down high-priority targets from a distance and clearing out entrenched enemies before they reach your position.
- Heavy Machine Guns (e.g., The Minigun): Devastating against armored units and excellent for suppressive fire during defense objectives.
- Grenade Launchers: Provide vital area-of-effect damage, effective against clustered enemies and for breaking enemy formations.
Utility and Gadget Recommendations
- Turrets: Essential for establishing defensive perimeters and providing automated fire support.
- Mines: Excellent for area denial and softening up enemy waves.
- Medical Kits: Always have an ample supply for self-healing and supporting teammates.
- Shield Generators: Can provide temporary defensive cover for the team during critical moments.
Advanced Tips and Tricks for Outranking the Competition
To truly dominate the Reduced to Rubble quest and ensure your guide stands above the rest, consider these advanced insights:
- Understand Enemy AI Patterns: Learn how different enemy types behave. Do they favor flanking? Do they react to loud noises? Exploiting these patterns can give you a significant tactical advantage. For example, Stalkers often attempt to flank from the sides, while Enforcers advance in a more direct, predictable manner.
- Master Reload Canceling and Weapon Swapping: Efficiently managing your weapon reloads by swapping to your secondary weapon during a critical reload animation can save precious seconds and prevent you from being caught vulnerable.
- Utilize Environmental Interactions: Beyond explosive barrels, look for opportunities to collapse structures on enemies, lure them into hazardous terrain, or use natural chokepoints to your advantage.
- Resource Management is Key: Don’t waste ammunition on weaker enemies when you can use your melee attack or a more efficient weapon. Conserve your most powerful tools for the most dangerous threats.
- Communication is Your Greatest Weapon: If playing with a squad, clear and concise communication about enemy positions, objective status, and resource needs is absolutely vital. Call out enemy types, their locations, and any immediate threats.
- Learn from Failure: Every failed attempt at Reduced to Rubble is a learning opportunity. Analyze what went wrong. Were you outgunned? Did you run out of resources? Did you fail to defend a key objective? Use this knowledge to refine your strategy for the next run.
By meticulously following this comprehensive guide, you will be exceptionally well-prepared to overcome the challenges presented by the Reduced to Rubble quest in ARC Raiders. The combination of detailed objective breakdowns, strategic insights, and advanced tips offers a definitive advantage, ensuring your success and cementing your reputation as a formidable Raider. We at Gaming News are committed to providing you with the most in-depth and effective content to enhance your gaming experience. Go forth, Raider, and bring order to the chaos!